
4.3 FCU
4.3.1 Navigate to FCU settings.
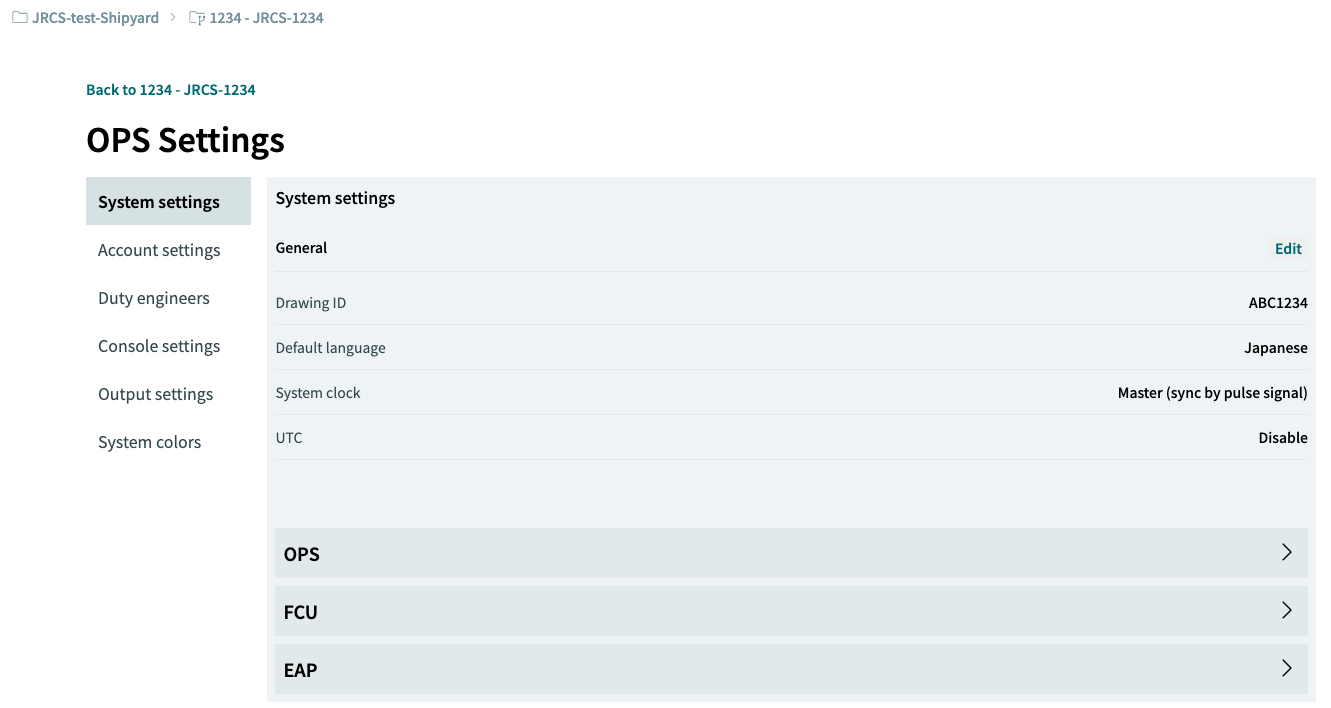
Navigate to the FCU settings by clicking the [ > ] button next to "FCU" under System settings.
4.3.2 Select the target FCU
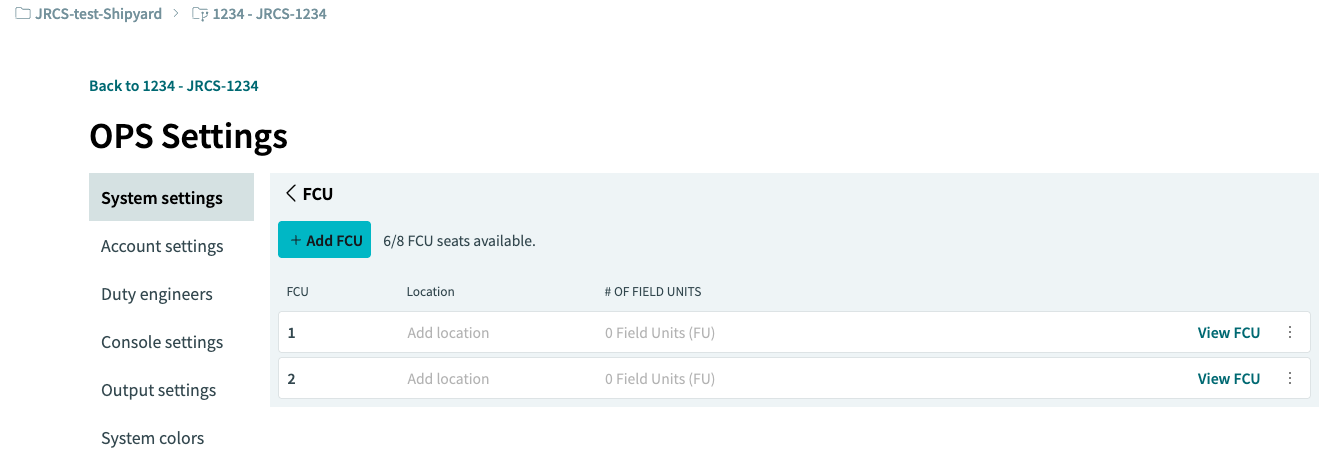
Perform actions such as [ Edit / Duplicate / Delete ] using the three-dot […] button for the target FCU.

4.3.4 Edit FCU

Use this to edit a selected FCU.
Select [Edit] from the three-dot […] button for the target FCU.
4.3.5 Duplicate FCU

Use this to copy a selected FCU.
Select [Duplicate] from the three-dot […] button.
4.3.6 Delete FCU

Use this to delete a selected FCU.
Select [Delete] from the three-dot […] button.
[!warning]
- At least one FCU is required.
- When selecting [Delete] or [Duplicate] from the three-dot […] button, automatic IP address assignment based on the FCU number is not applied.
4.3.7 View FCU

Use this to view information about a selected FCU.
Select [View FCU] for the target FCU.
4.3.8 FCU information
Displays information about the selected FCU.
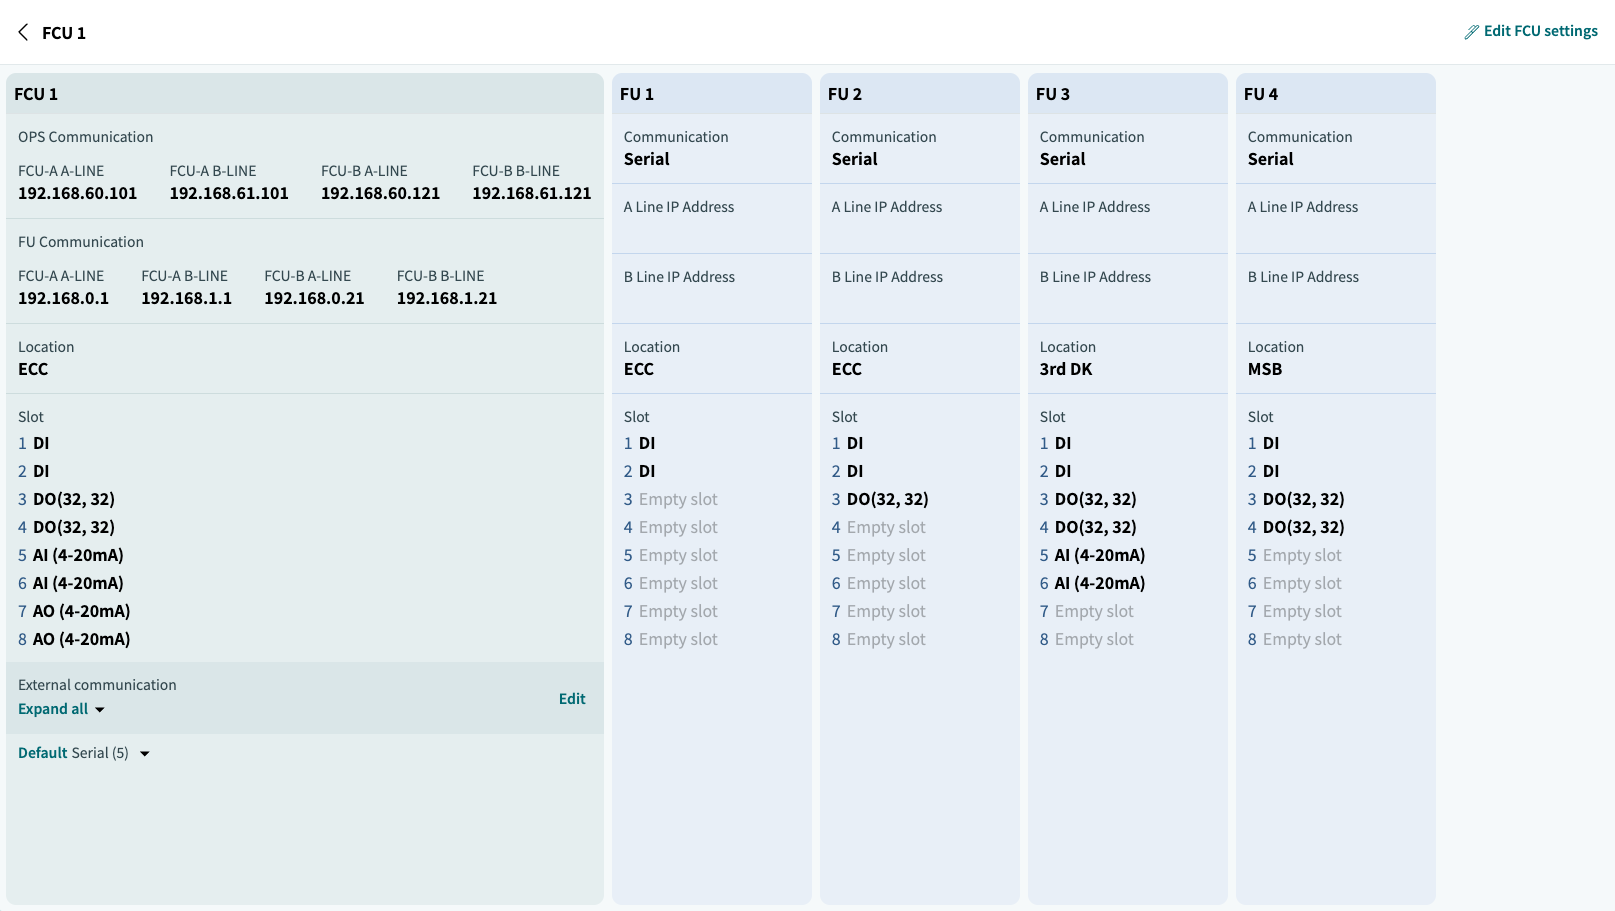
You can also navigate to the FCU editing screen by clicking the [Edit FCU settings] button in the top-right corner of the selected FCU’s information screen.

4.3.9 FCU External Device Communication
You can navigate to the external device communication settings screen by clicking [Edit] under the [External communication] section on the selected FCU’s information screen.
For external device communication, you can choose to either hide the port or edit it (configure port settings).

On the editing screen, you can configure external device communication settings for up to five ports per FCU.
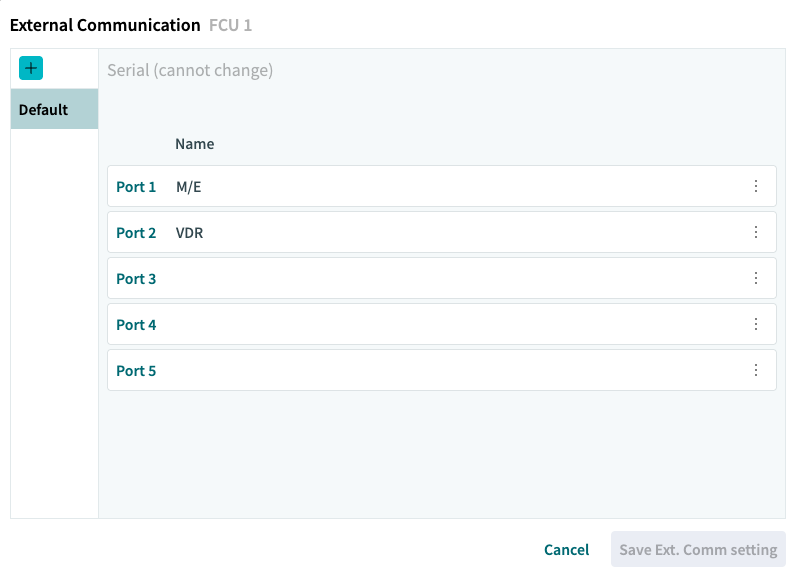
Once configuration is complete, click the [Save Ext. Comm setting] button to save the settings.

4.3.10 FCU Settings
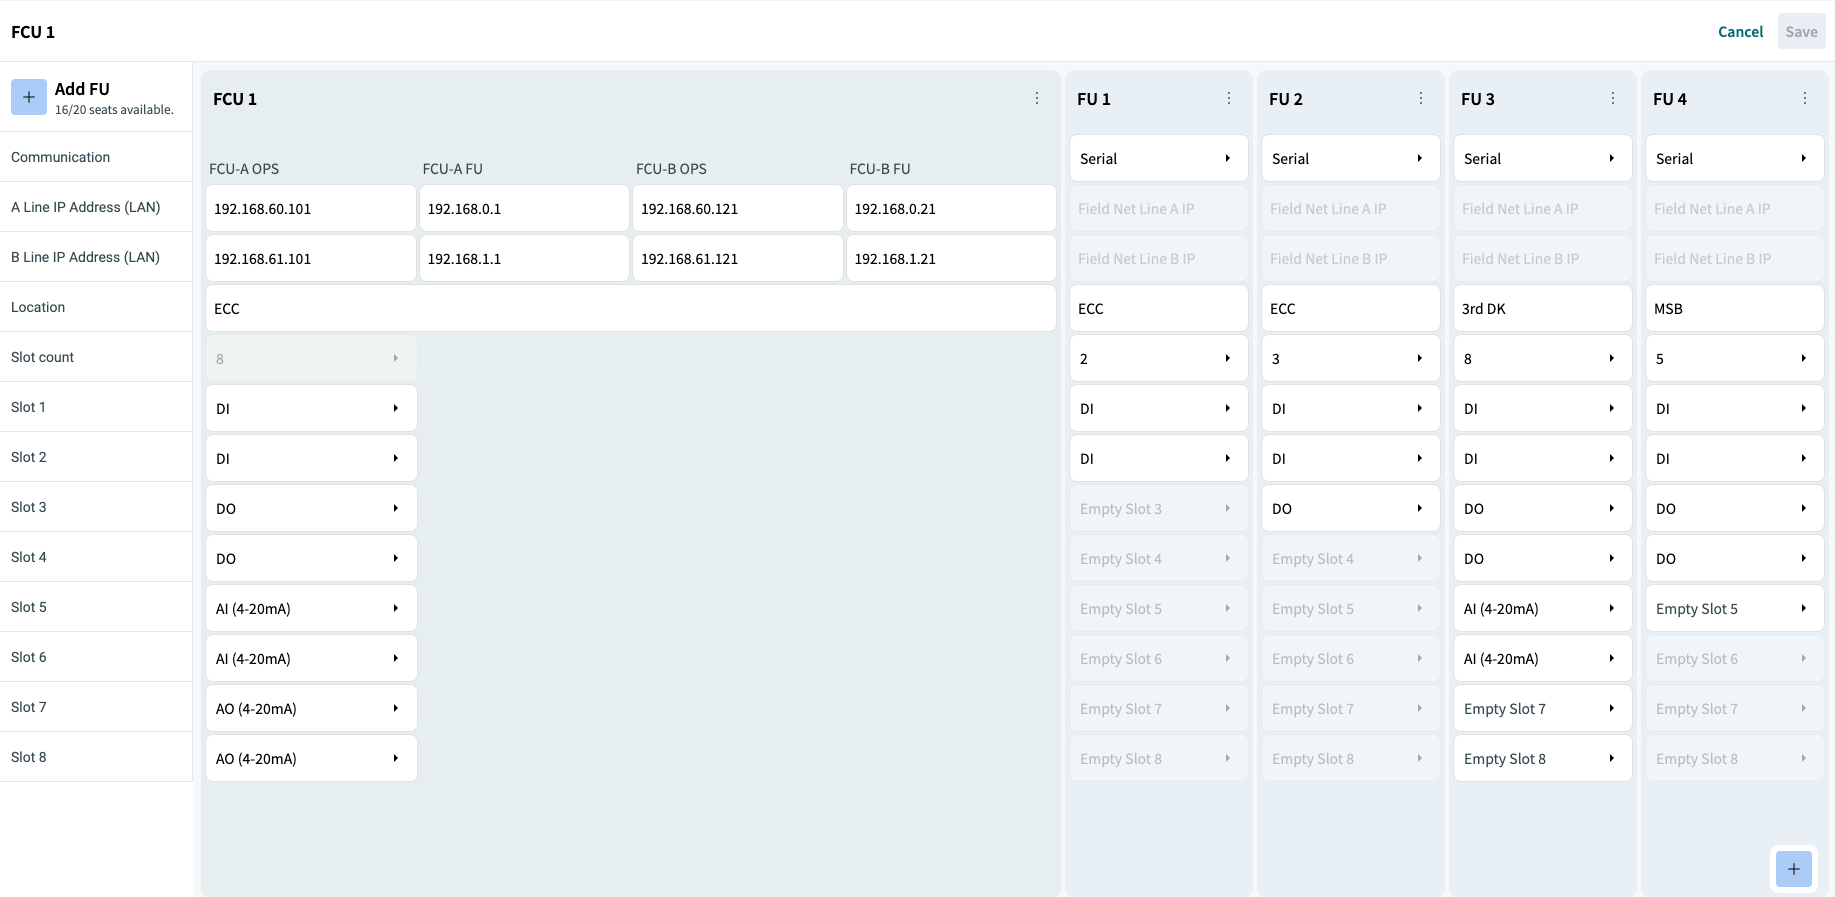
Configure the detailed settings for the FCU. Configure the following items for each FCU unit.
-
a) A Line IP Address (LAN) Configure the IP address for Line A (generally, the IP address should not be edited).
-
b) B Line IP Address (LAN) Configure the IP address for Line B (generally, the IP address should not be edited).
-
c) Location Enter the installation location of the FCU.
-
d) Slot count Displays the number of I/O boards that can be installed in the FCU.
-
e) Slot 1 - Slot 8 Configure the type of I/O board installed in each slot. Select
[Empty slot]if the slot is unused. Generally, up to two I/O boards of the same type can be installed in a single FCU. - Empty slot-
DI
-
DO
-
AI (4-20mA)
-
AI (Pt100 2-wire)
-
AI (Pt100 3-wire)
-
AI (Thermocouple K)
-
AI (1-5V)
-
AO (4-20mA)
-
4.3.11 Adding an FU
Add an FU using the [Add FU] button at the top left of the FCU editing screen or the [ + ] button at the bottom right.

4.3.12 Duplicating an FU
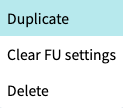
Used to copy the selected FU.
Select [Duplicate] from the three-dot […] button menu.
4.3.13 Clearing FU Settings
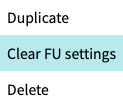
Used to clear the settings of the selected FU.
Select [Clear FU settings] from the three-dot […] button menu.
The following items are cleared:
- FU communication method
- Location
- Slot count
- I/O boards installed in Slots 1 through 8
4.3.14 Deleting an FU
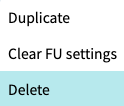
Used to delete the selected FU.
Select [Delete] from the three-dot […] button menu.
4.3.15 FU Settings
Configure the detailed settings for the FU. Configure the following items for each FU unit. Generally, up to two I/O boards of the same type can be installed in a single FU.
-
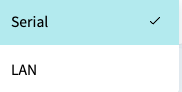
a) FU Communication Method Select the communication method (
[ Serial / LAN ]) used to connect the FCU and the FU. Generally, select[Serial]. If[ LAN ]is selected, configure the IP addresses for System A and System B. (LAN settings are for future use.)
-
b) Location Enter the installation location of the FU.
-
c) Slot count Set the number of I/O boards to be installed in the FU. Select the number of I/O boards from
[ 2 / 3 / 5 / 8 ]. -
d) Slot 1 - Slot 8 Set the type of I/O board installed in each slot. Select
[Empty slot]if the slot is unused.-
Empty slot
-
DI
-
DO
-
AI (4-20mA)
-
AI (Pt100 2-wire)
-
AI (Pt100 3-wire)
-
AI (Thermocouple K)
-
AI (1-5V)
-
AO (4-20mA)
-
-
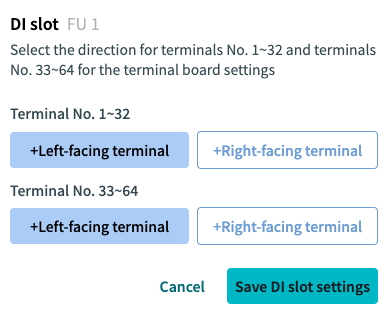
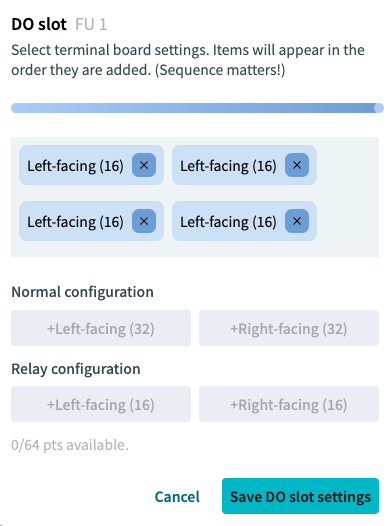
e) Terminal block settings Configure the terminal block to be connected based on the specific I/O board type.
-
Number of terminal points
-
Terminal block orientation
-
DI slot
-
DO slot
-
AI (4-20mA)
_slot.png)
-
AI (Pt100 2-wire)
_slot.png)
-
AI (Pt100 3-wire)
_slot.png)
-
AI (Thermocouple K)
-
AI (1-5V)
_slot.png)
-
AO (4-20mA)
_slot.png)
-
-
