infoceanus assist registration
Create a Microsoft account and setup Microsoft Authenticator
-
Go to the official Microsoft page at https://account.microsoft.com/.
-
Click "Create a Microsoft account".
-
Enter your email address.
-
Please enter your company’s email address.
-
-
Enter an arbitrary password (at least 8 alphanumeric characters) and click "Next". *We recommend that you write down your password.
-
The Microsoft Account Team will send you a 4-digit security code to your email.
-
Enter the security code.
-
Enter the characters that appear in the image. This completes the creation of a Microsoft account.
-
Select "Security" on your microsoft account page and click Two-step verification.
-
Select Microsoft Authenticator as the verification method.
-
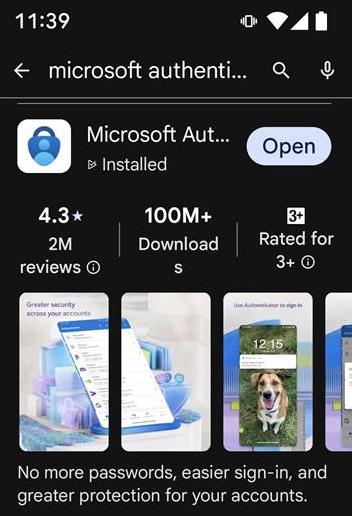
Download the Microsoft Authenticator app from the App Store or Google Play.
-
Open the app and tap "Add account".
-
Select "Work or school account".
-
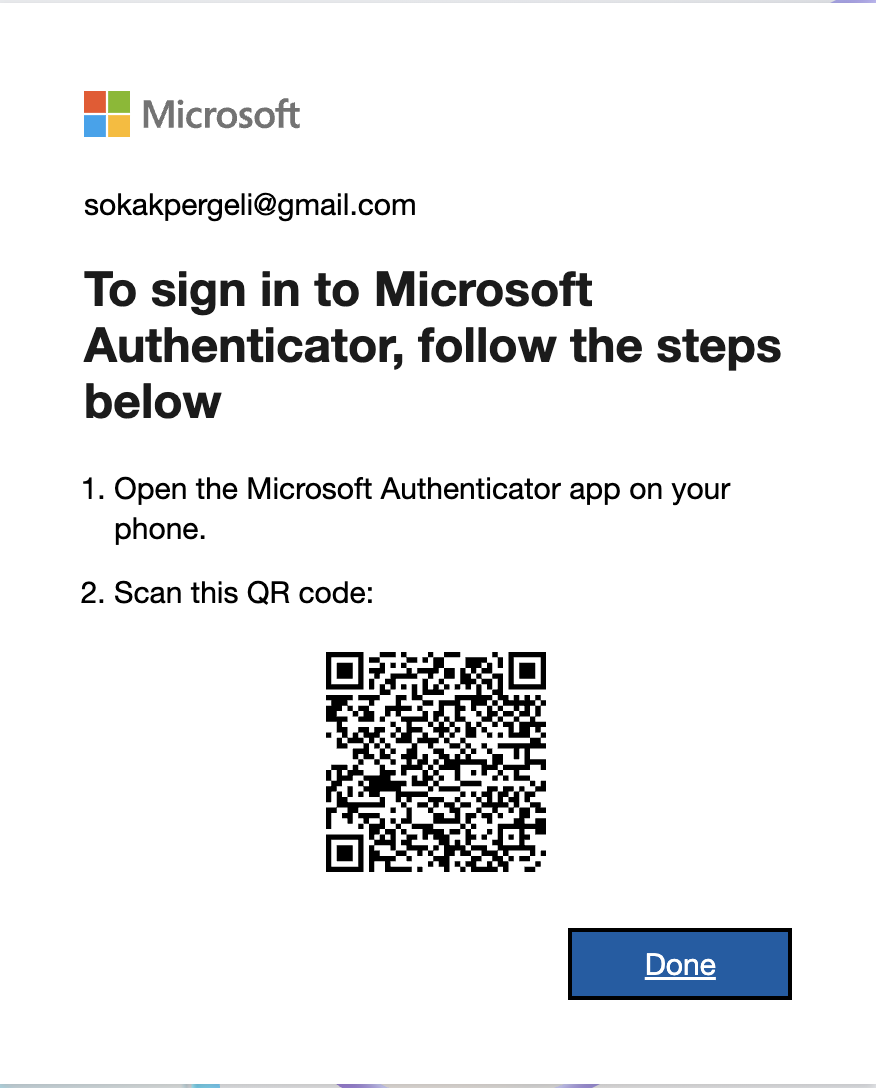
Use your phone’s camera to scan the QR code displayed on your computer screen.
User registration on infoceanus platform
In order to start using the service, we will ask you to contact us with your account information for the vessel and the user.
-
Vessel Name: ABC Maru (Ship building / SNo. / IMO No)
-
Account Information (E-mail Address): sample@abc.com
-
Your account must be registered with a Microsoft account.
-
How to start using infoceanus assist
After your account is registered, you will receive an email from Microsoft as in below:
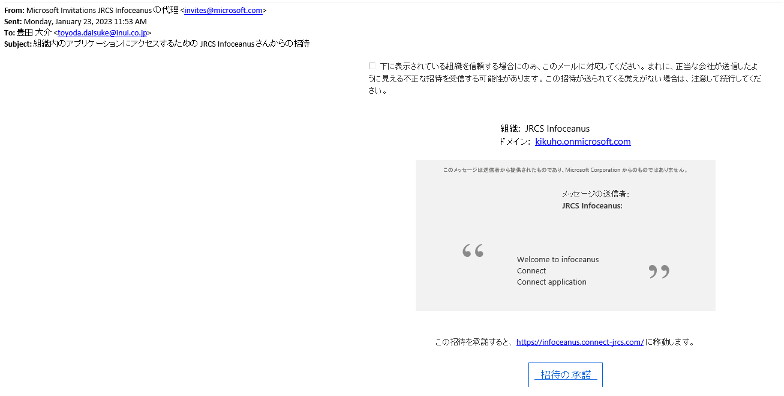
Please follow the instructions in the email to complete your registration by clicking infoceanus assist url: https://assist.infoceanus.com/.
How to use Microsoft Authenticator for infoceanus assist
When you log in to infoceanus assist, you will be asked to verify your identity using the Microsoft Authenticator app.
-
Log in to the Assist app
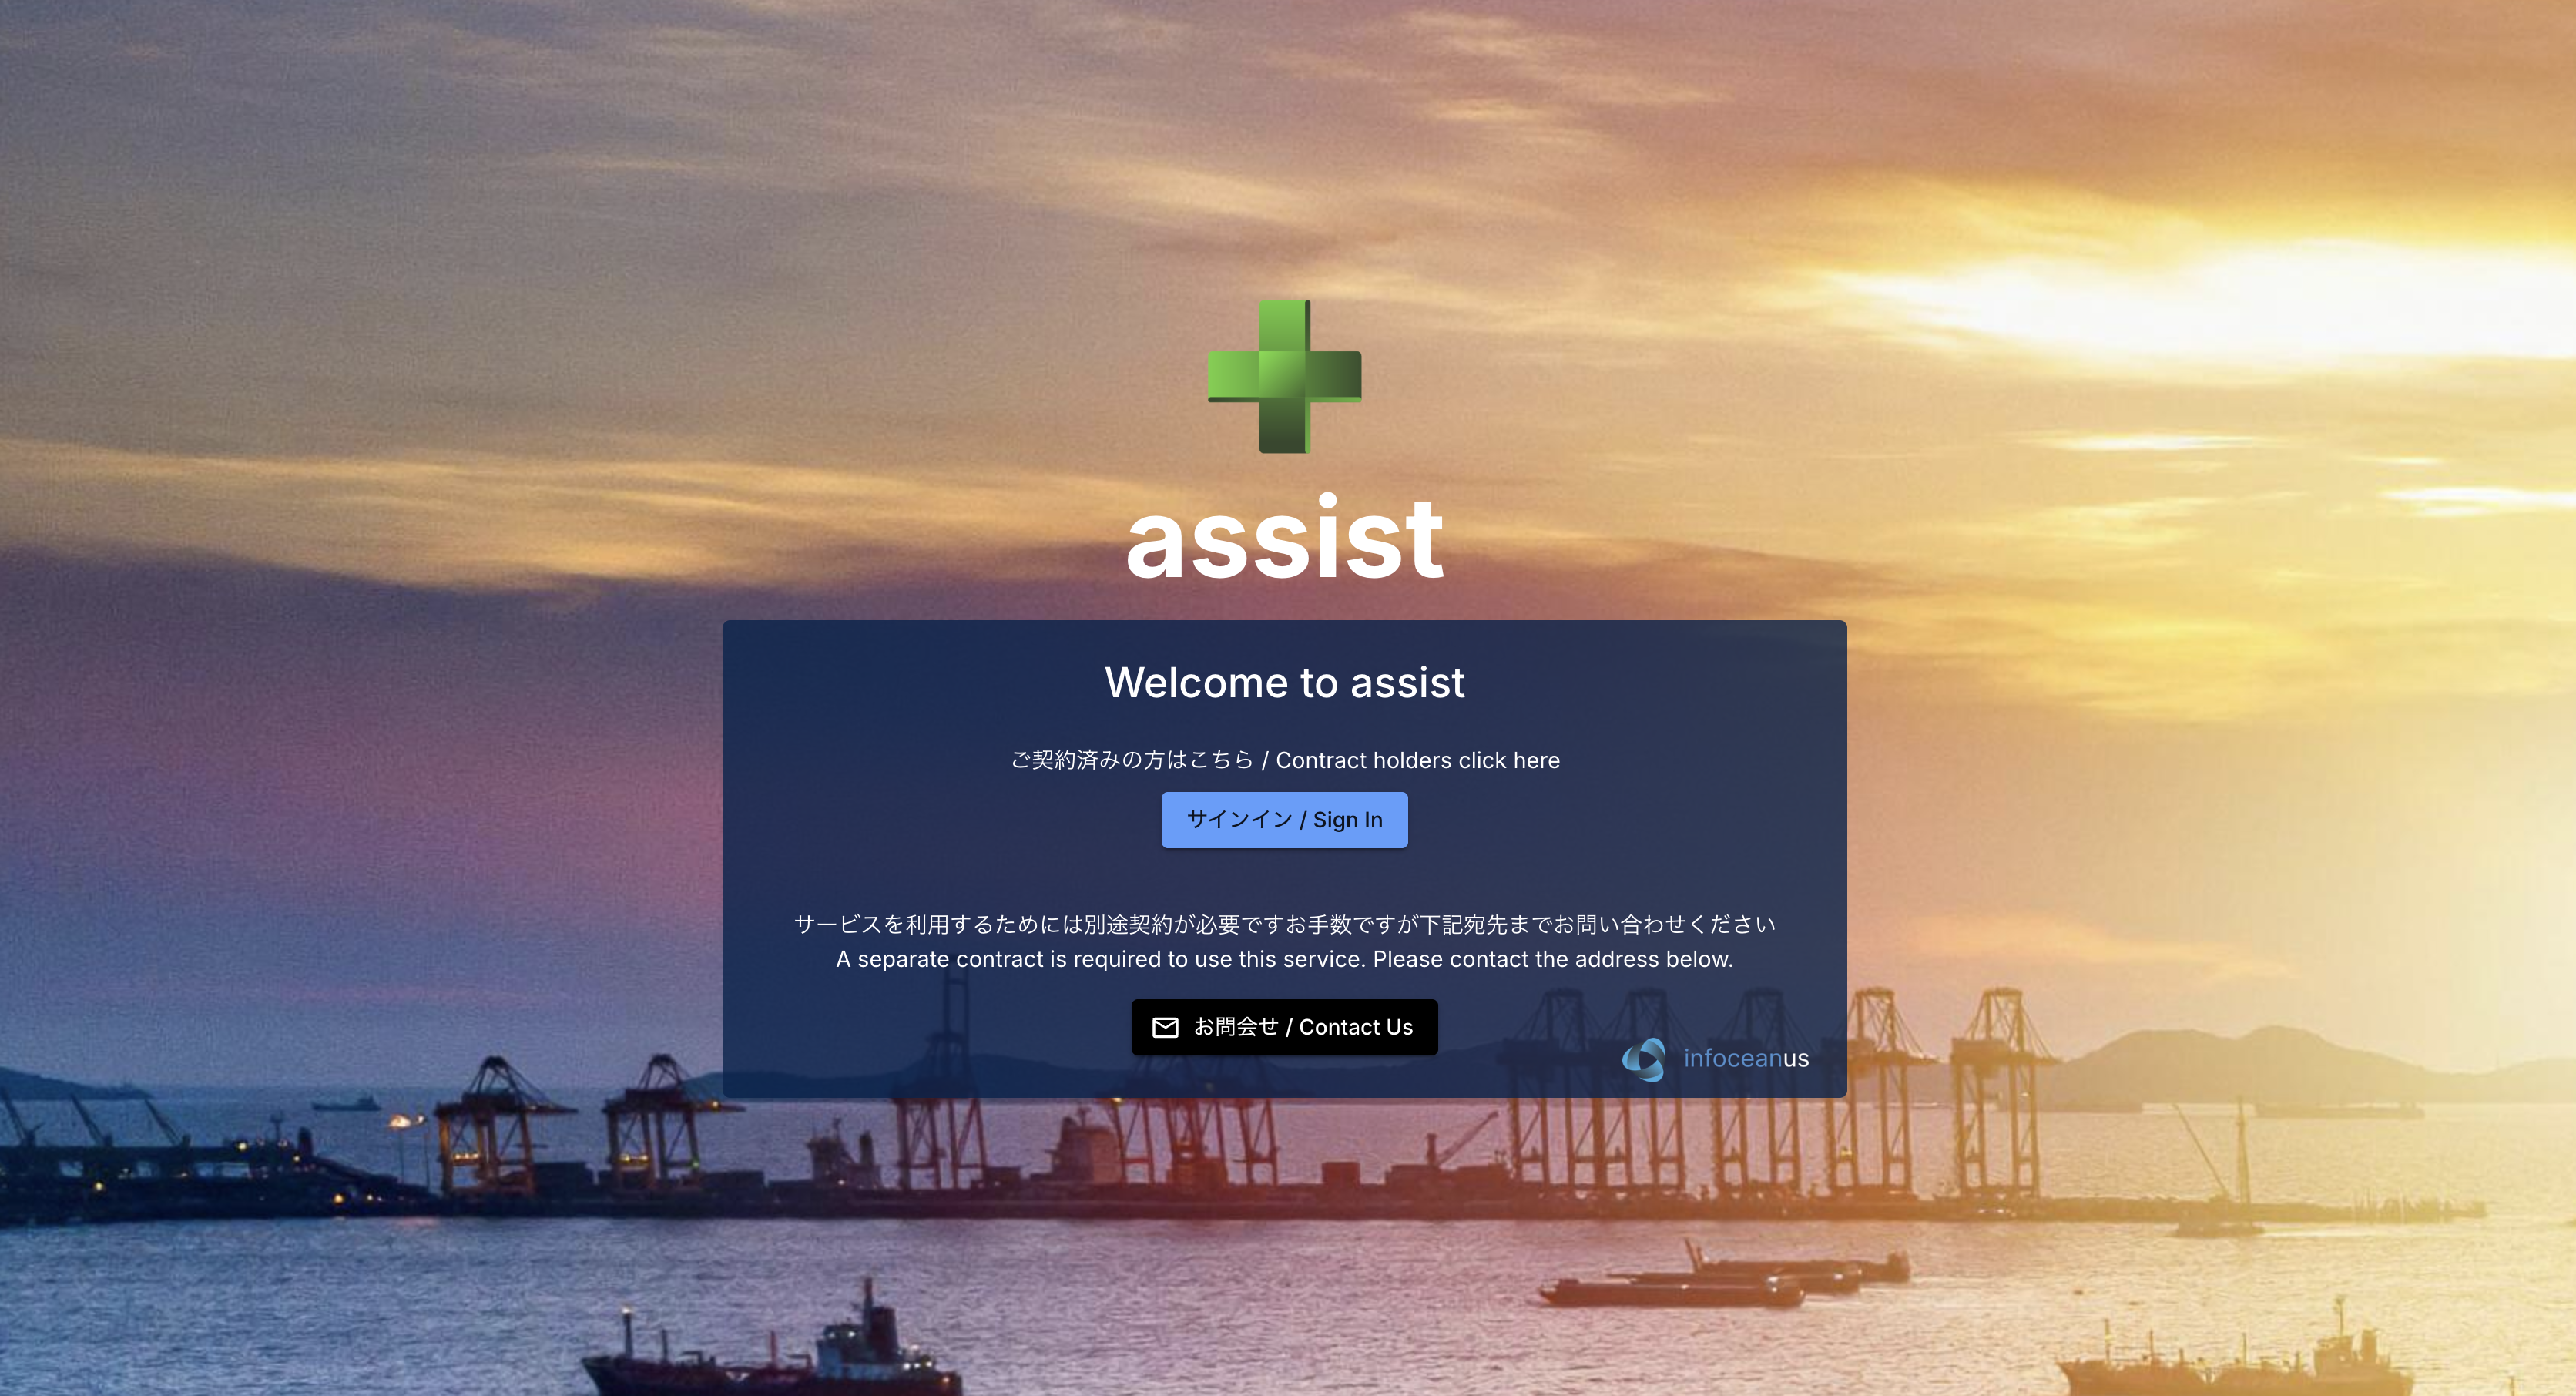
-
Sign in to you microsoft account
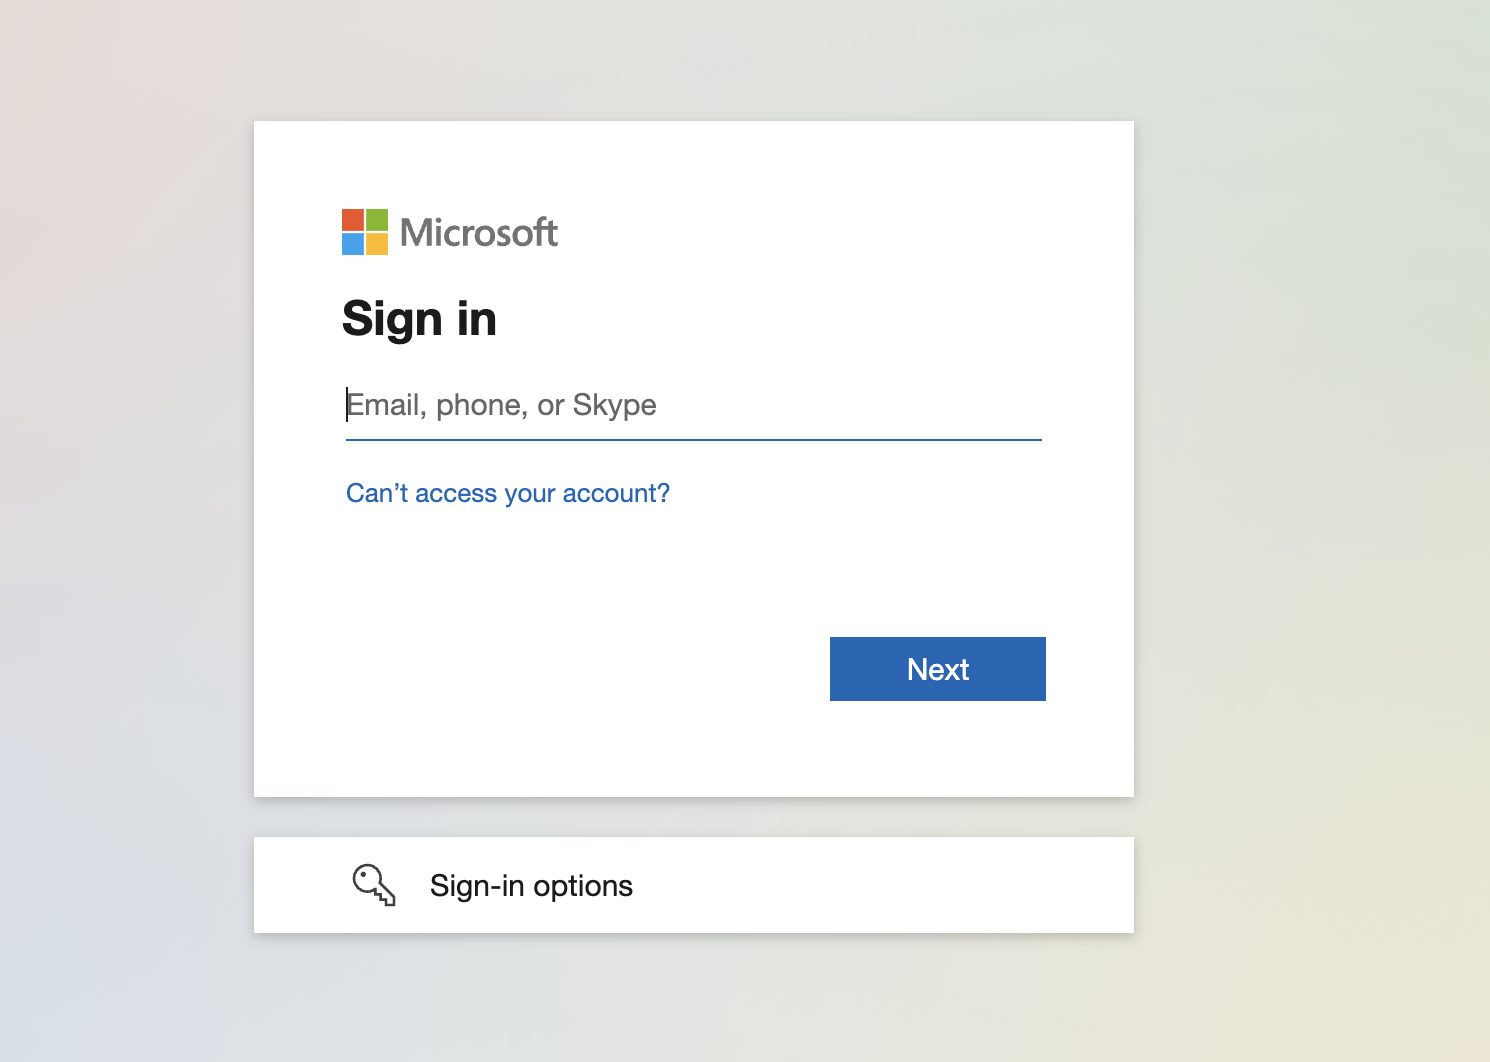
-
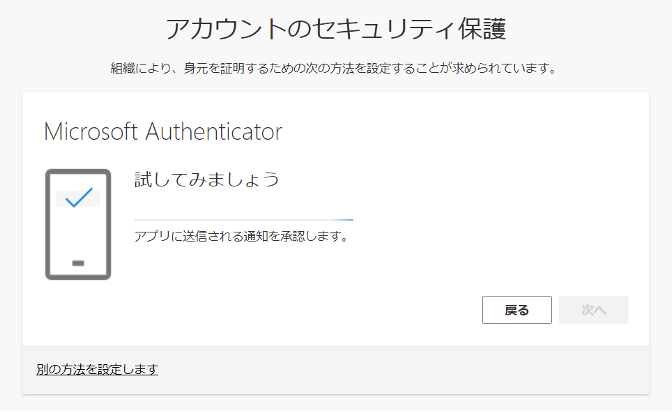
Set up your Microsoft Authenticator app
-
If you have not set up the Microsoft Authenticator app, you will be prompted to do so.
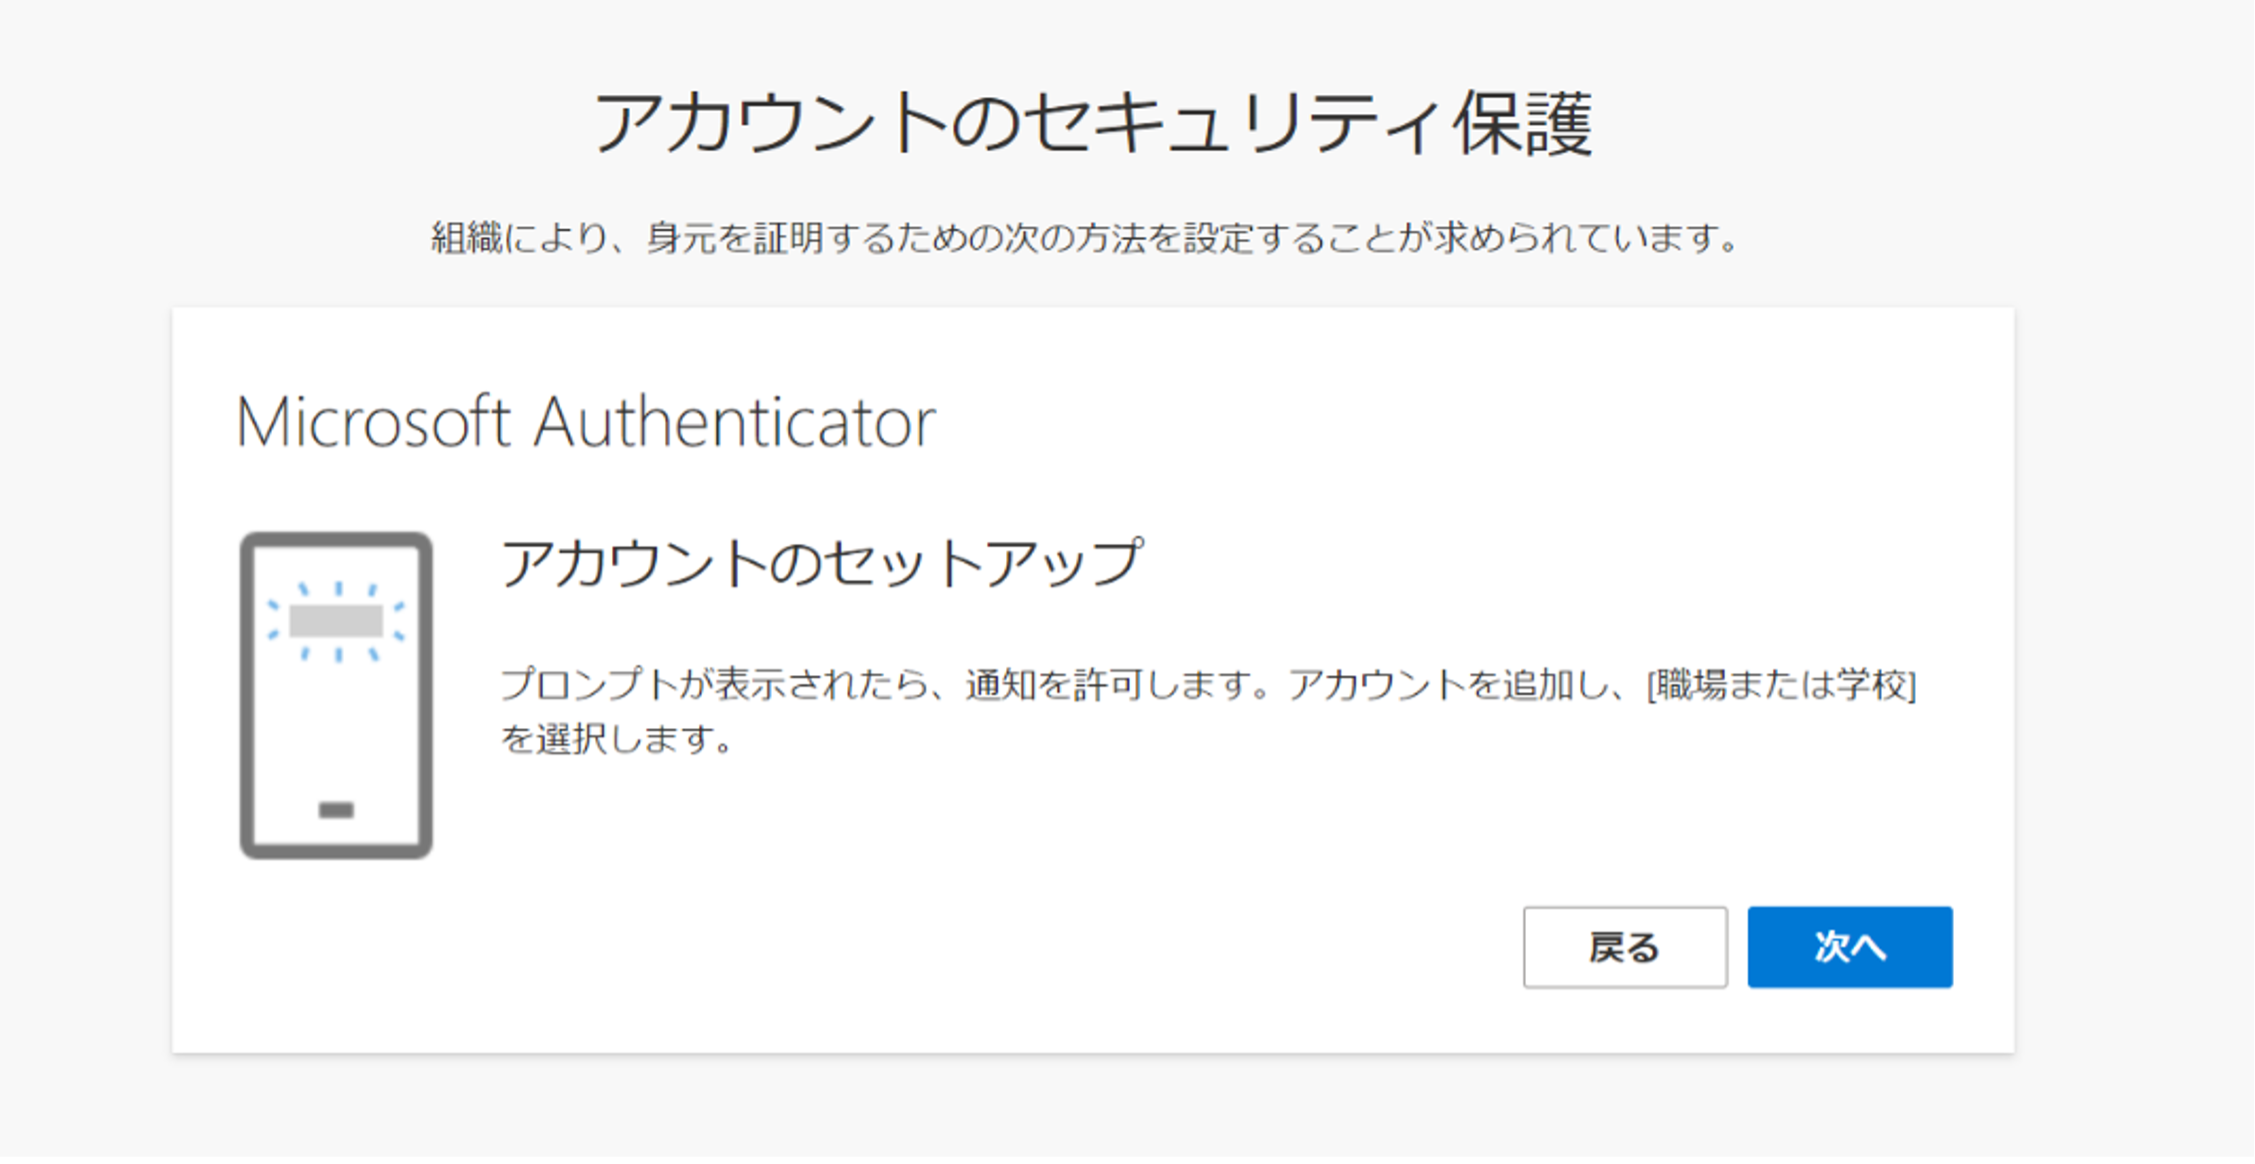
-
-
Use your phone’s camera to scan the QR code displayed on your computer screen.
-
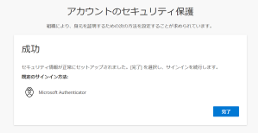
Complete authenticator setup
-
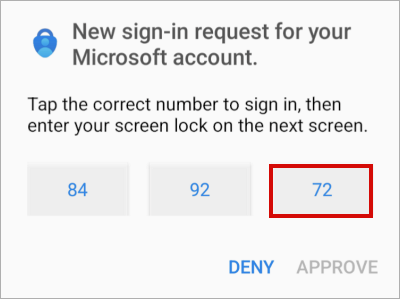
On your mobile device, open Authenticator, or tap the New sign-in request notification.
-
Note: If you’re a work or school account user, you may need to unlock Authenticator before confirming sign-in.
-
-
Tap or enter the corresponding number, then Approve.
Offline PIN Code Login (Vessel Crew)
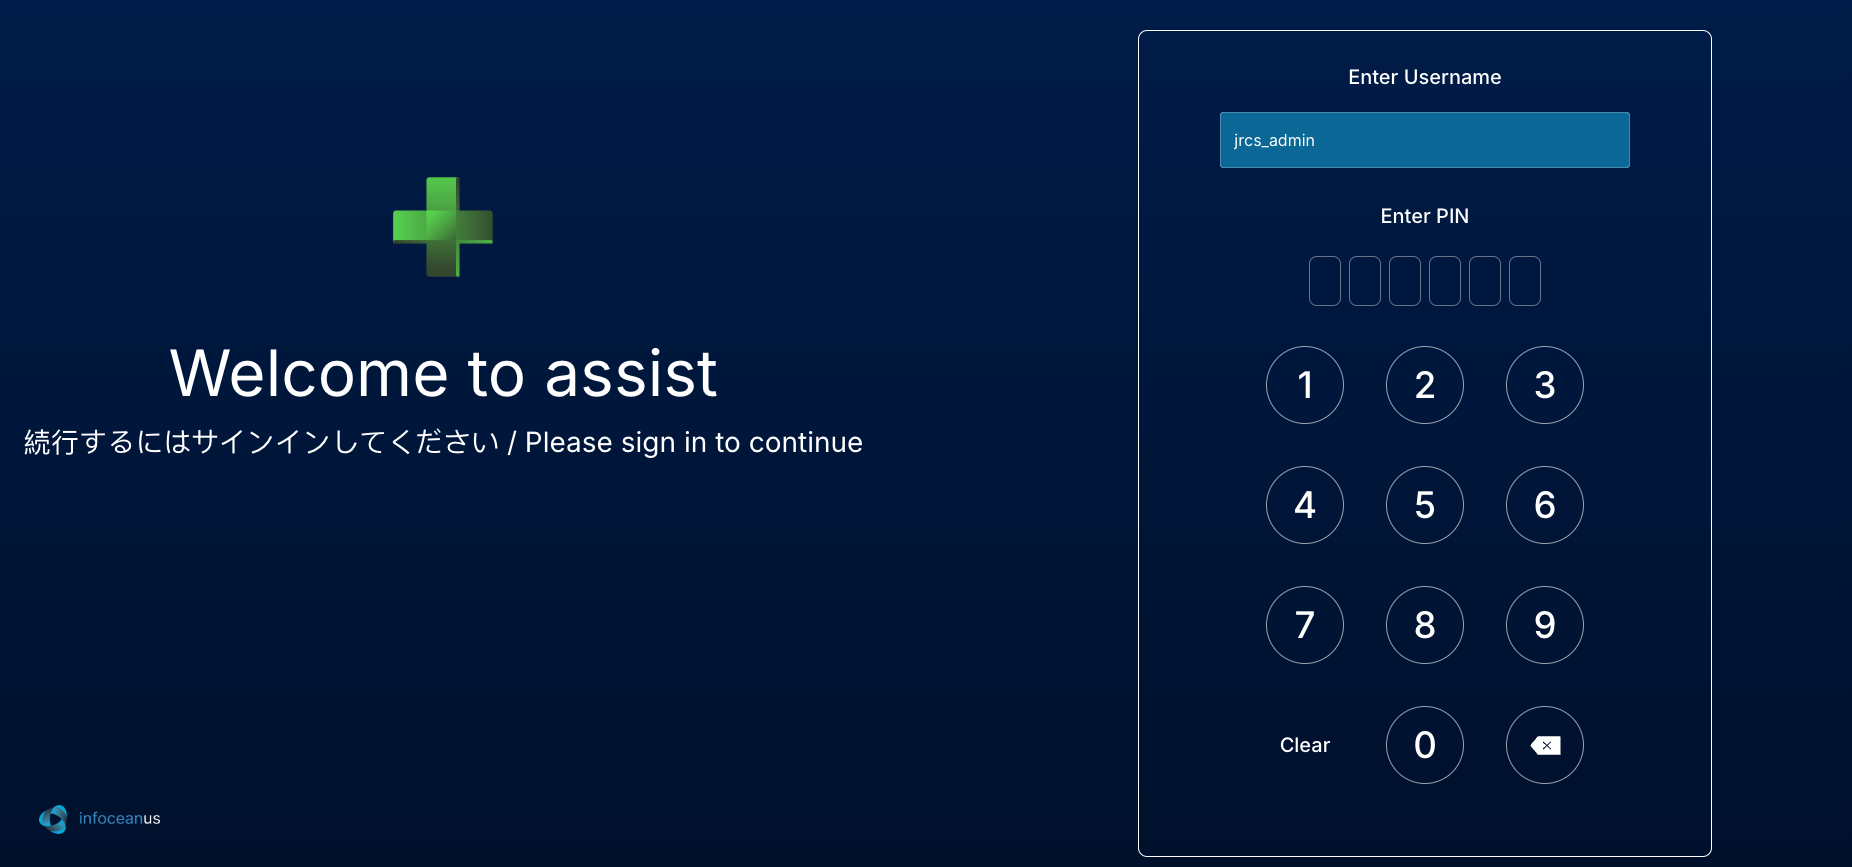
For vessel crew operating in offline environments or situations where Microsoft Authenticator is not available, an alternative PIN code-based login method is provided.
-
Enter your assigned PIN code (provided by your vessel administrator or support team).
-
Your PIN code is typically 4-6 digits.
-
Keep your PIN code confidential and do not share it with others.
-
-
Tap "Login" to proceed.
-
Once logged in successfully, you will be granted access to infoceanus assist with limited offline capabilities until the next sync with the server.
Dashboard / Home
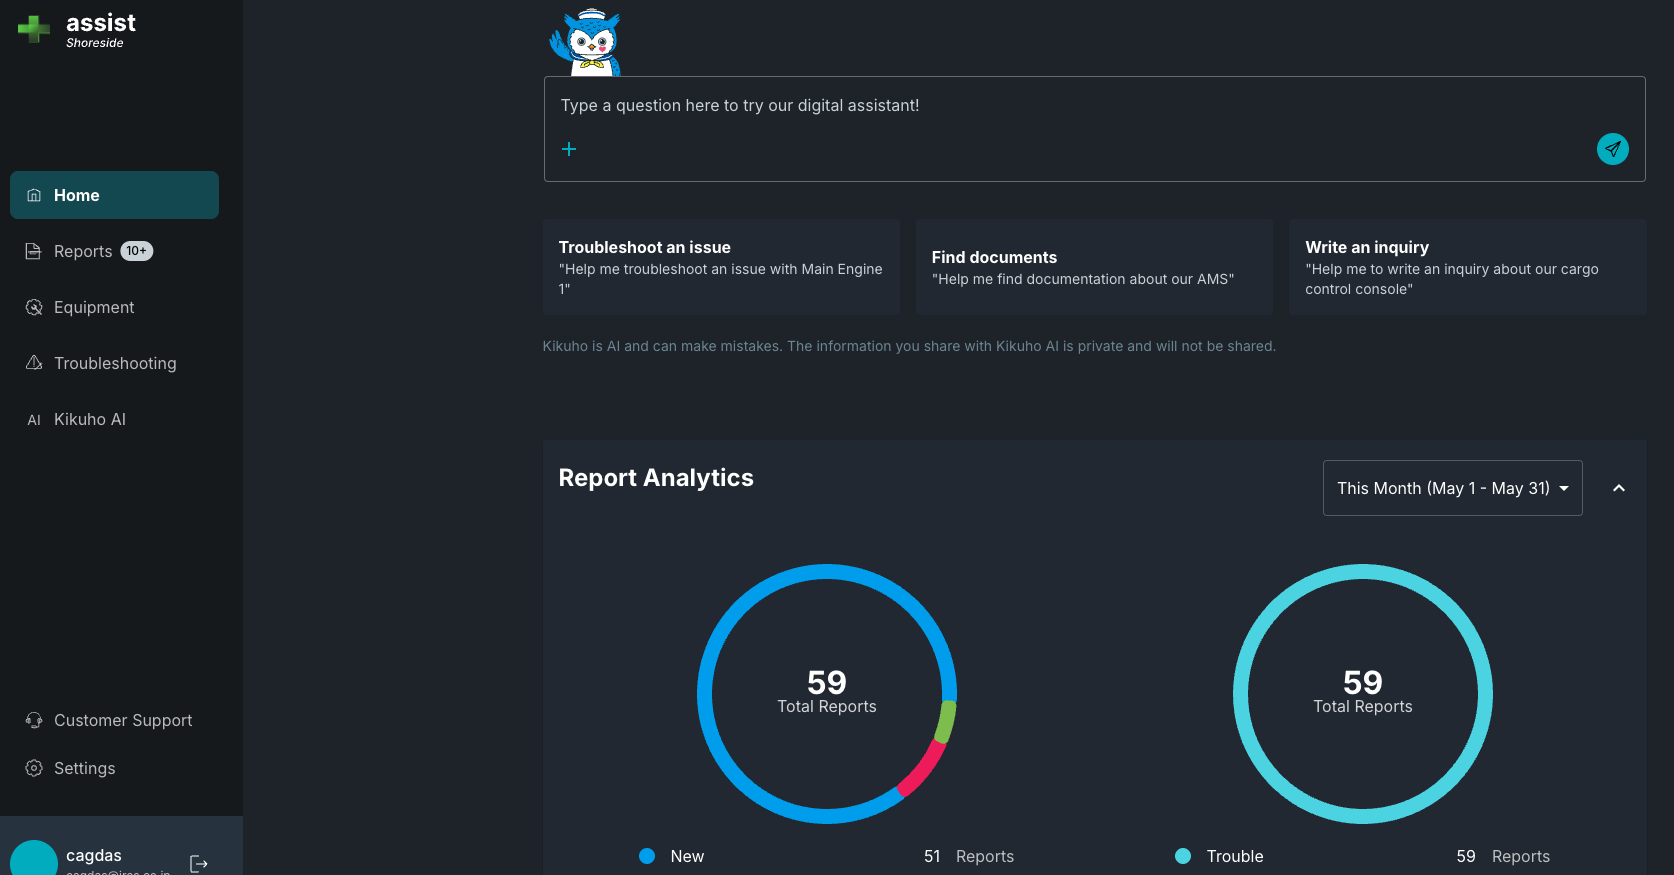
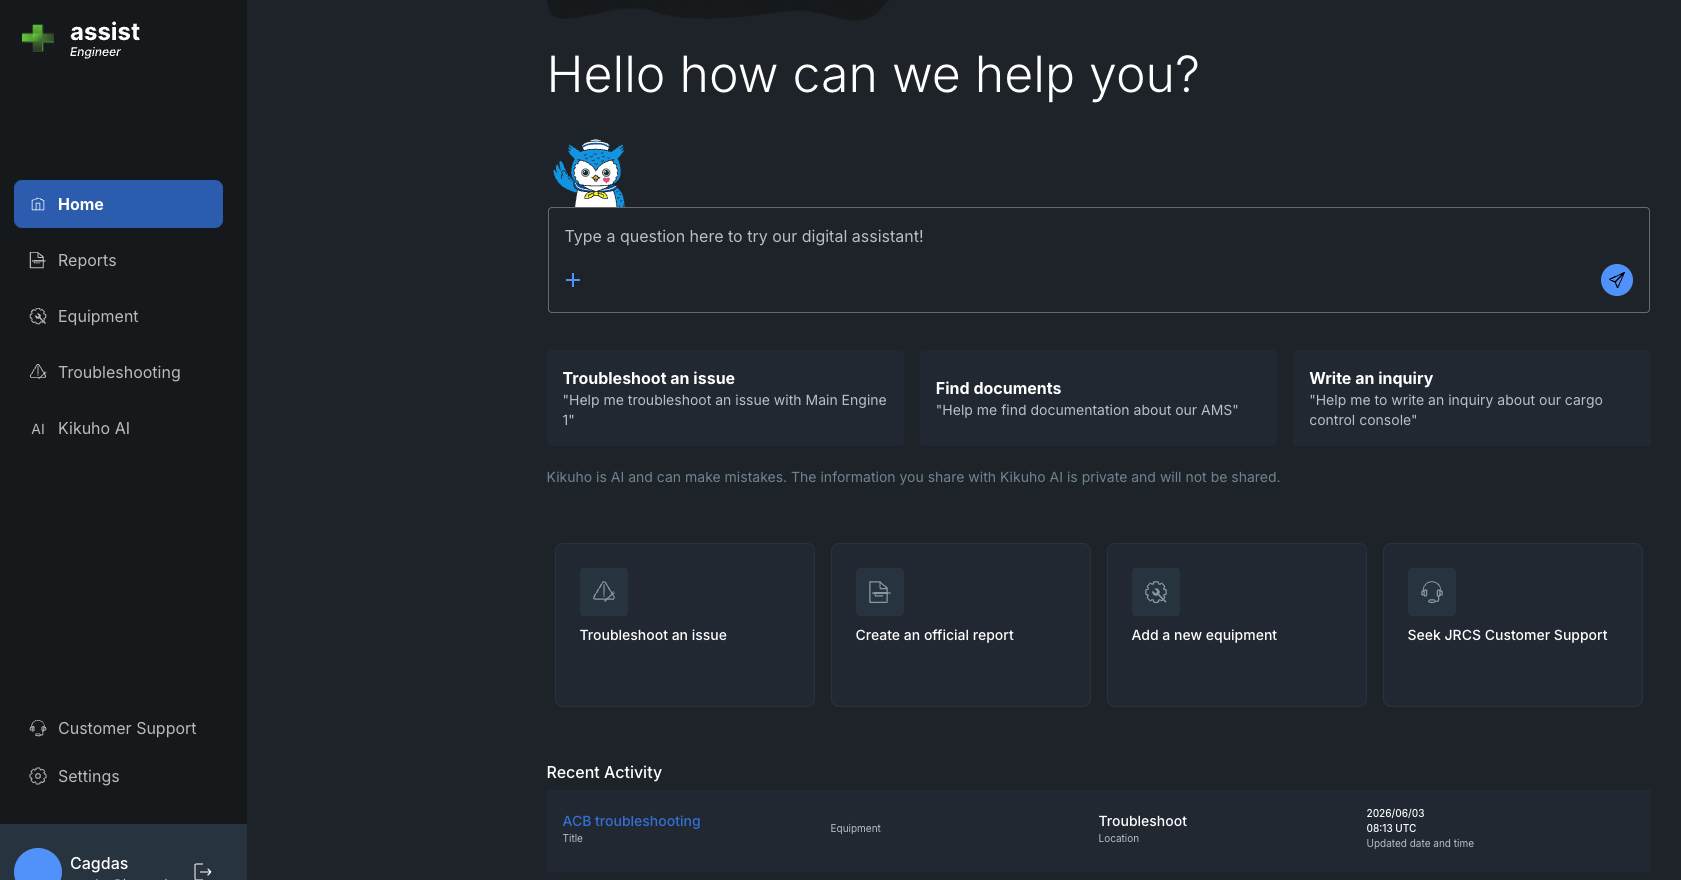
The dashboard is the main entry point after sign-in. It displays the current date and time, a hero section, and quick navigation boxes for the most common tasks:
What you can do:
-
Troubleshoot an issue
-
Create a new report
-
Add a new equipment item
-
Submit a new customer support claim
The dashboard also shows recent activity from updated reports, equipment records, troubleshooting items, and support claims. For users with AI assistant access, the home page includes the Kikuho AI assistant preview area with starter prompts and links into the chat experience.
Reports
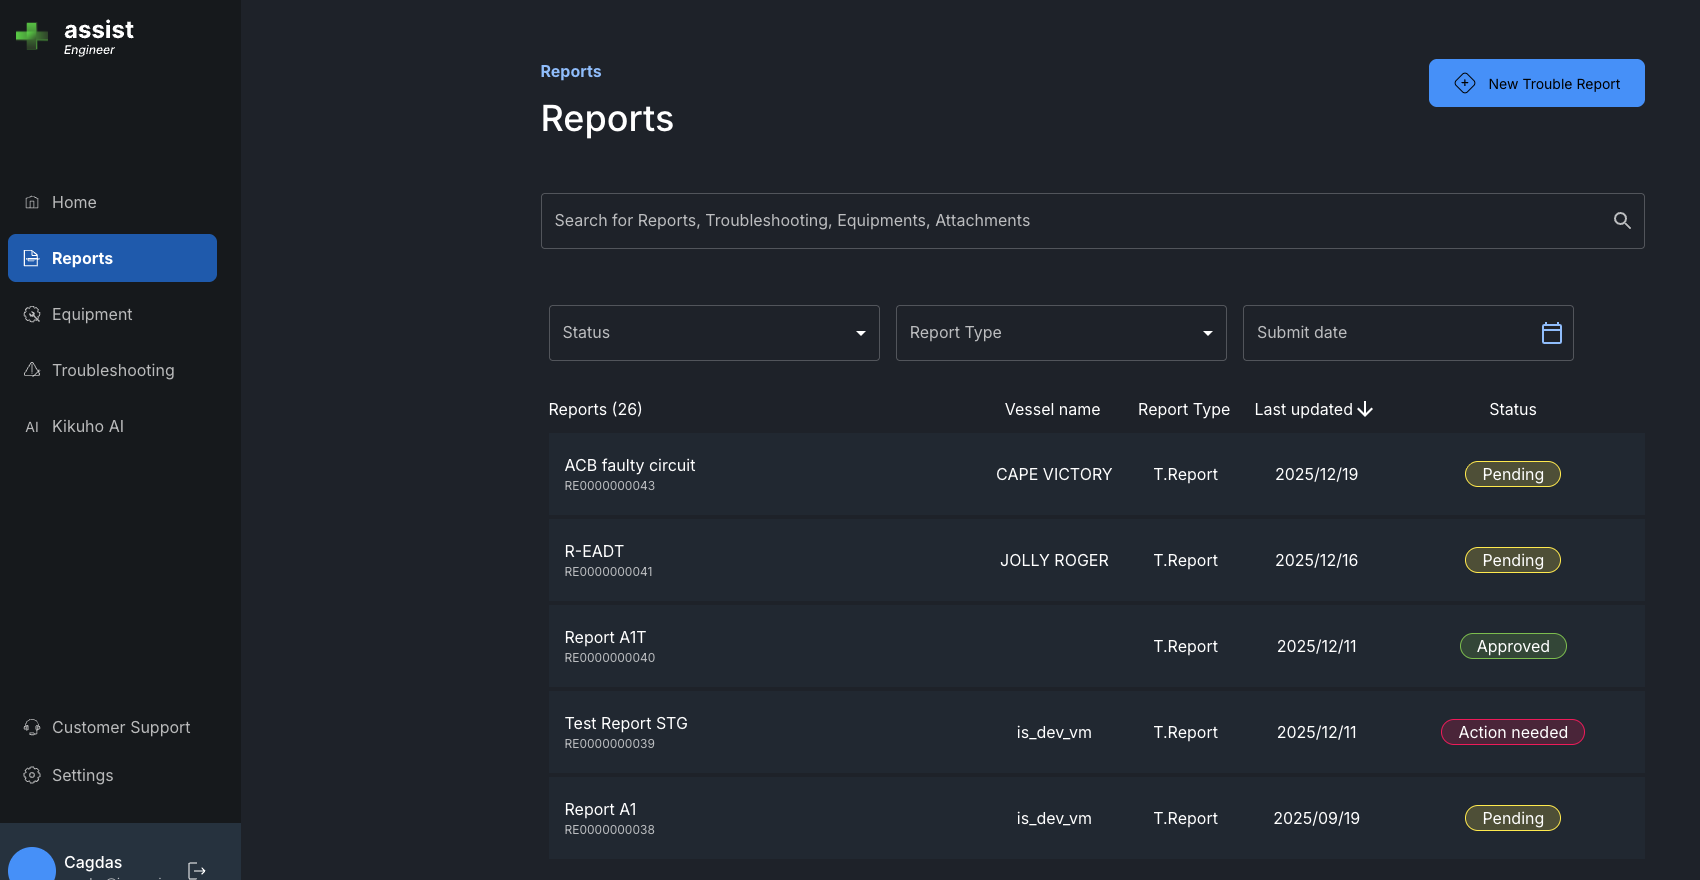
Reports is the application area for tracking and managing trouble reports.
Equipment Management
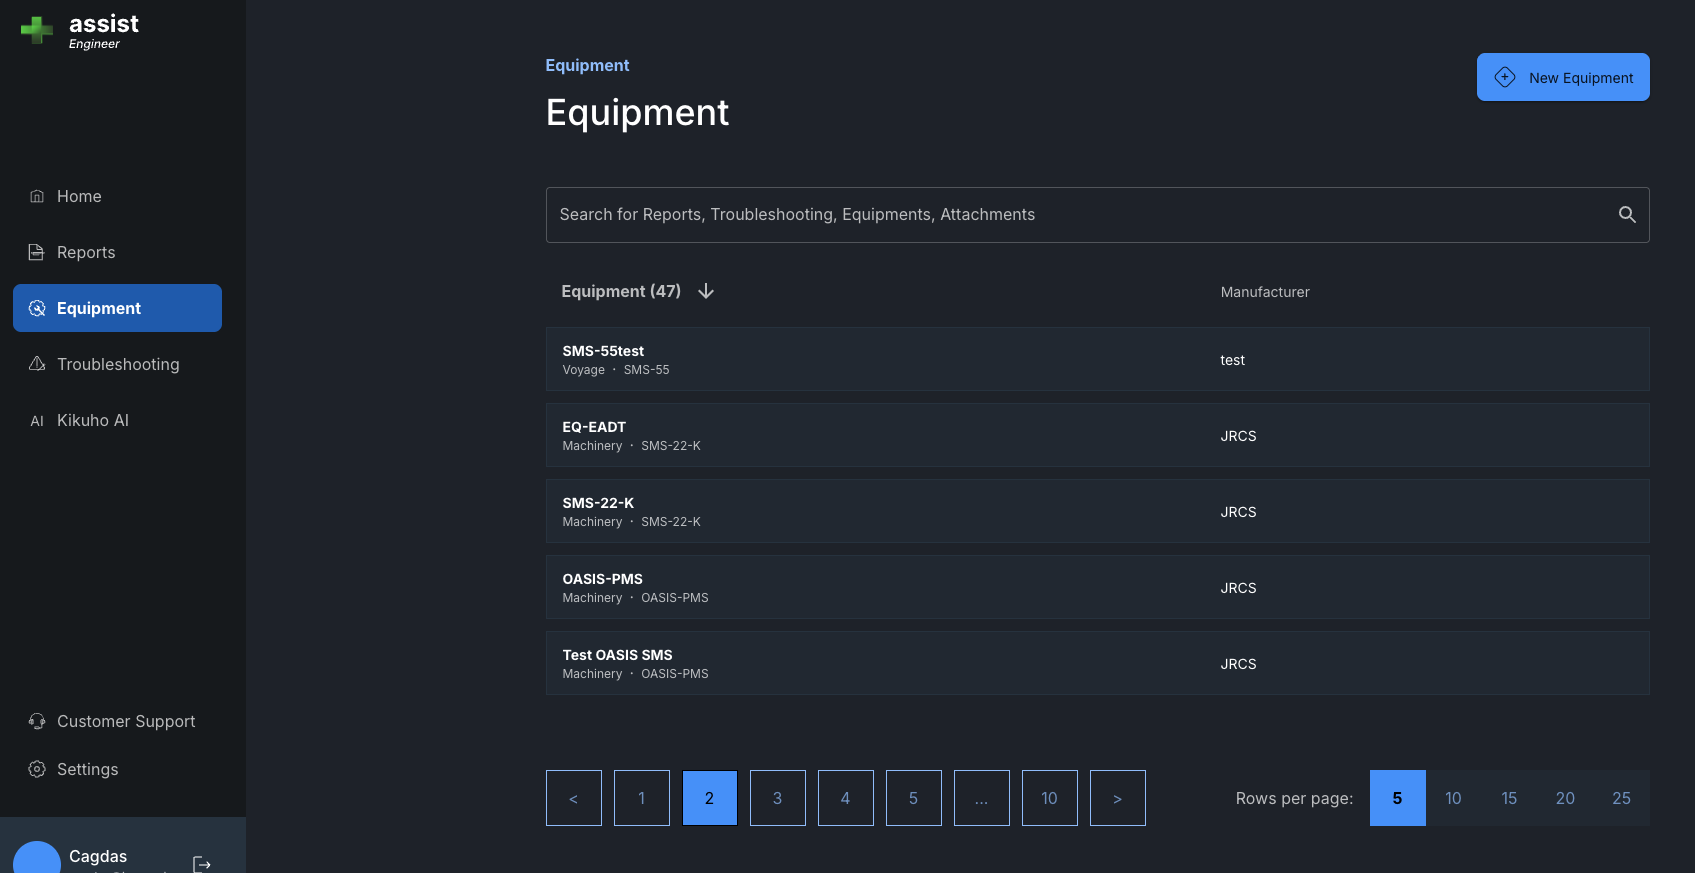
The Equipment section manages vessel equipment listings, metadata, and status.
What you can do:
-
View equipment by vessel, manufacturer, category, and product
-
Search equipment by name
-
Filter equipment by vessel, category, or manufacturer
-
Sort the list by equipment name, category, manufacturer, or vessel
-
Click an equipment row to open the detail page and edit equipment data
-
Add new equipment through the wizard flow starting under
Create a new equipmenton the dashboard or via the equipment menu
How to use it:
-
Use the search field to find an exact equipment name or partial match.
-
Apply filters to narrow by vessel, category, or manufacturer.
-
Click table headers to sort ascending or descending.
-
When you need to add equipment, follow the multi-step new equipment flow: select manufacturer, assign vessel, and enter detailed equipment information.
Troubleshooting
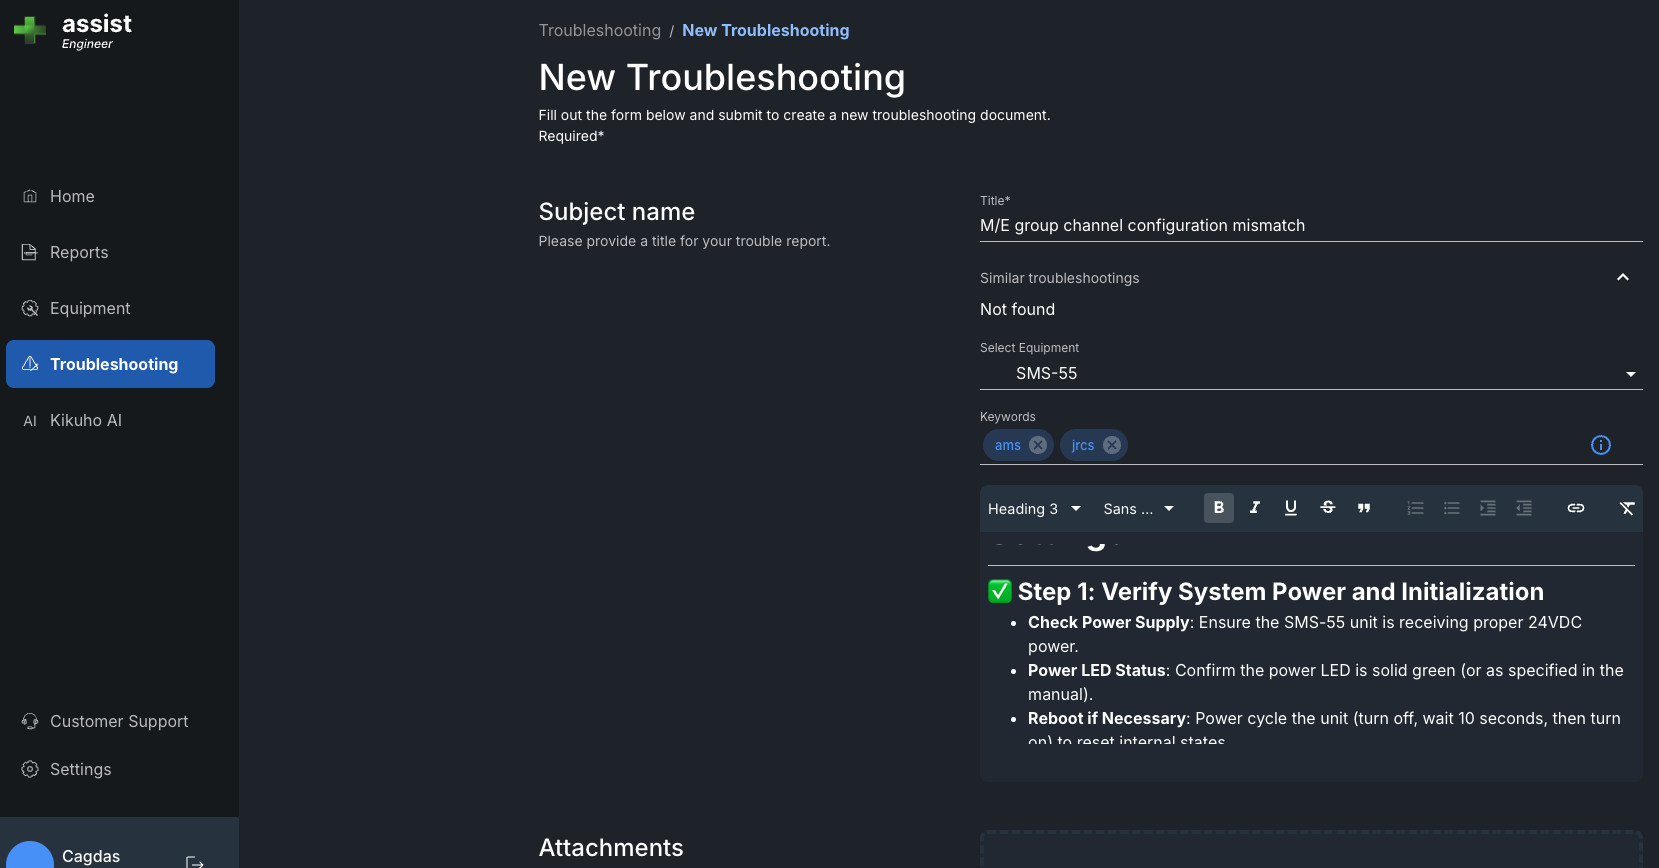
The Troubleshooting page is the knowledge base for issue resolution.
Customer Support
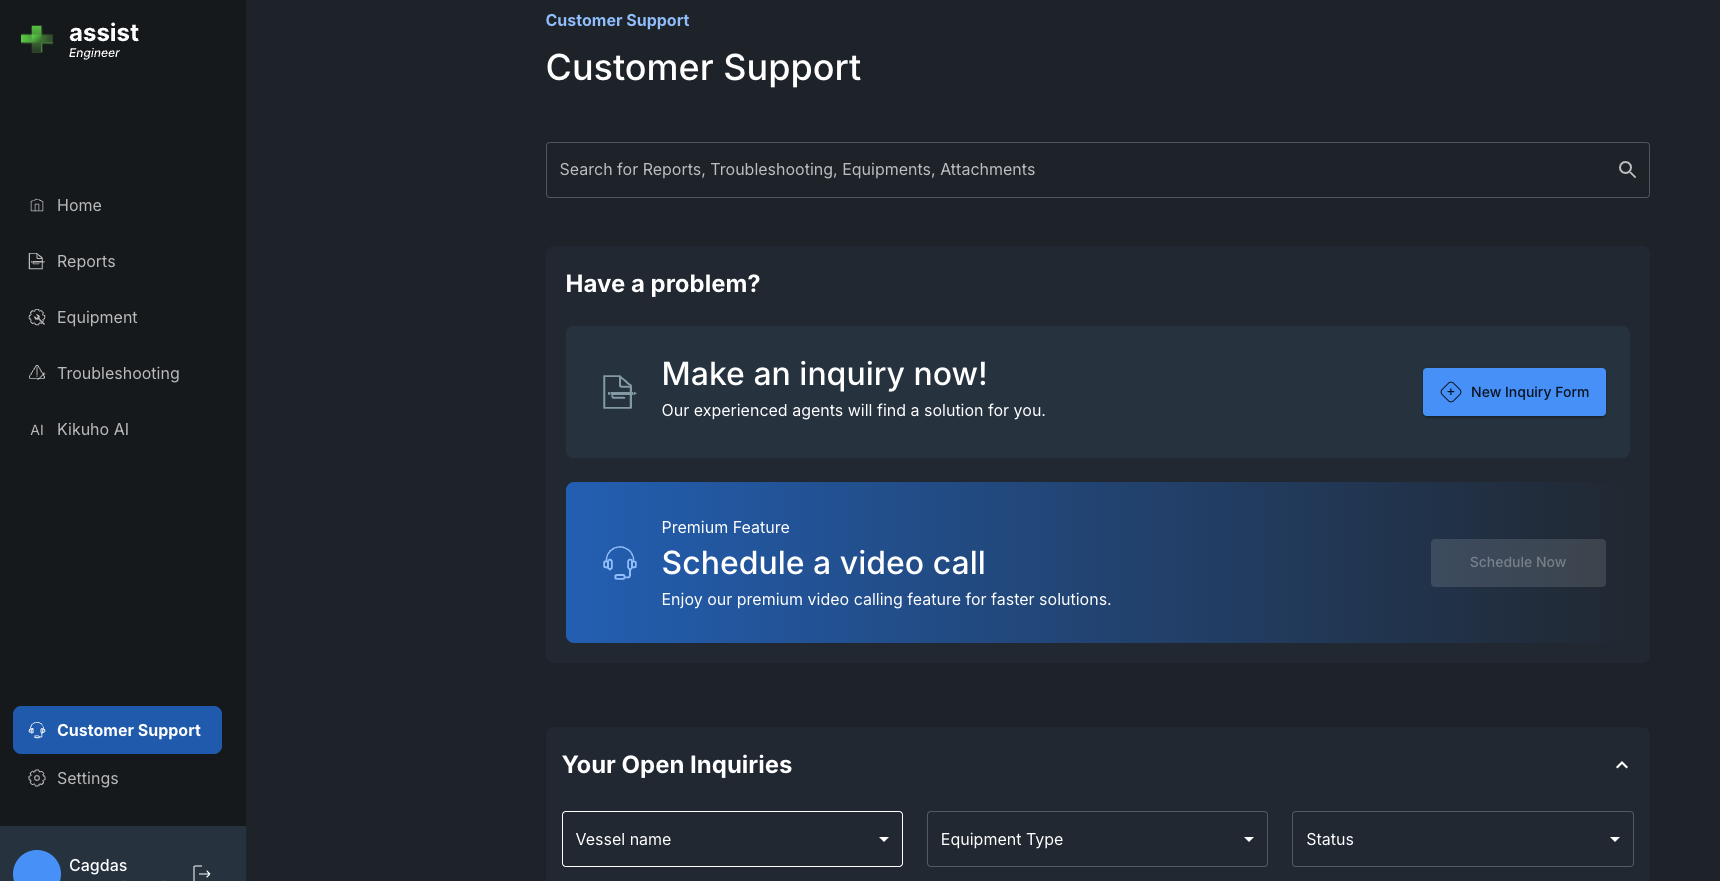
The Customer Support area helps you manage support requests, calls, and open claims.
What you can do:
-
Search support claims and request history
-
View upcoming scheduled calls
-
See open claim overviews and current claim status
-
Submit a new customer support request
-
Use the contact form or contact card to reach support directly
How to use it:
-
Use the support search bar to locate claims by title, equipment, or request number.
-
Review the
Upcoming Callssection for scheduled meetings and support sessions. -
Open any claim listed in the
Open Claimssection to inspect its current status and details. -
Click through to create a new support request when you need help from customer support.
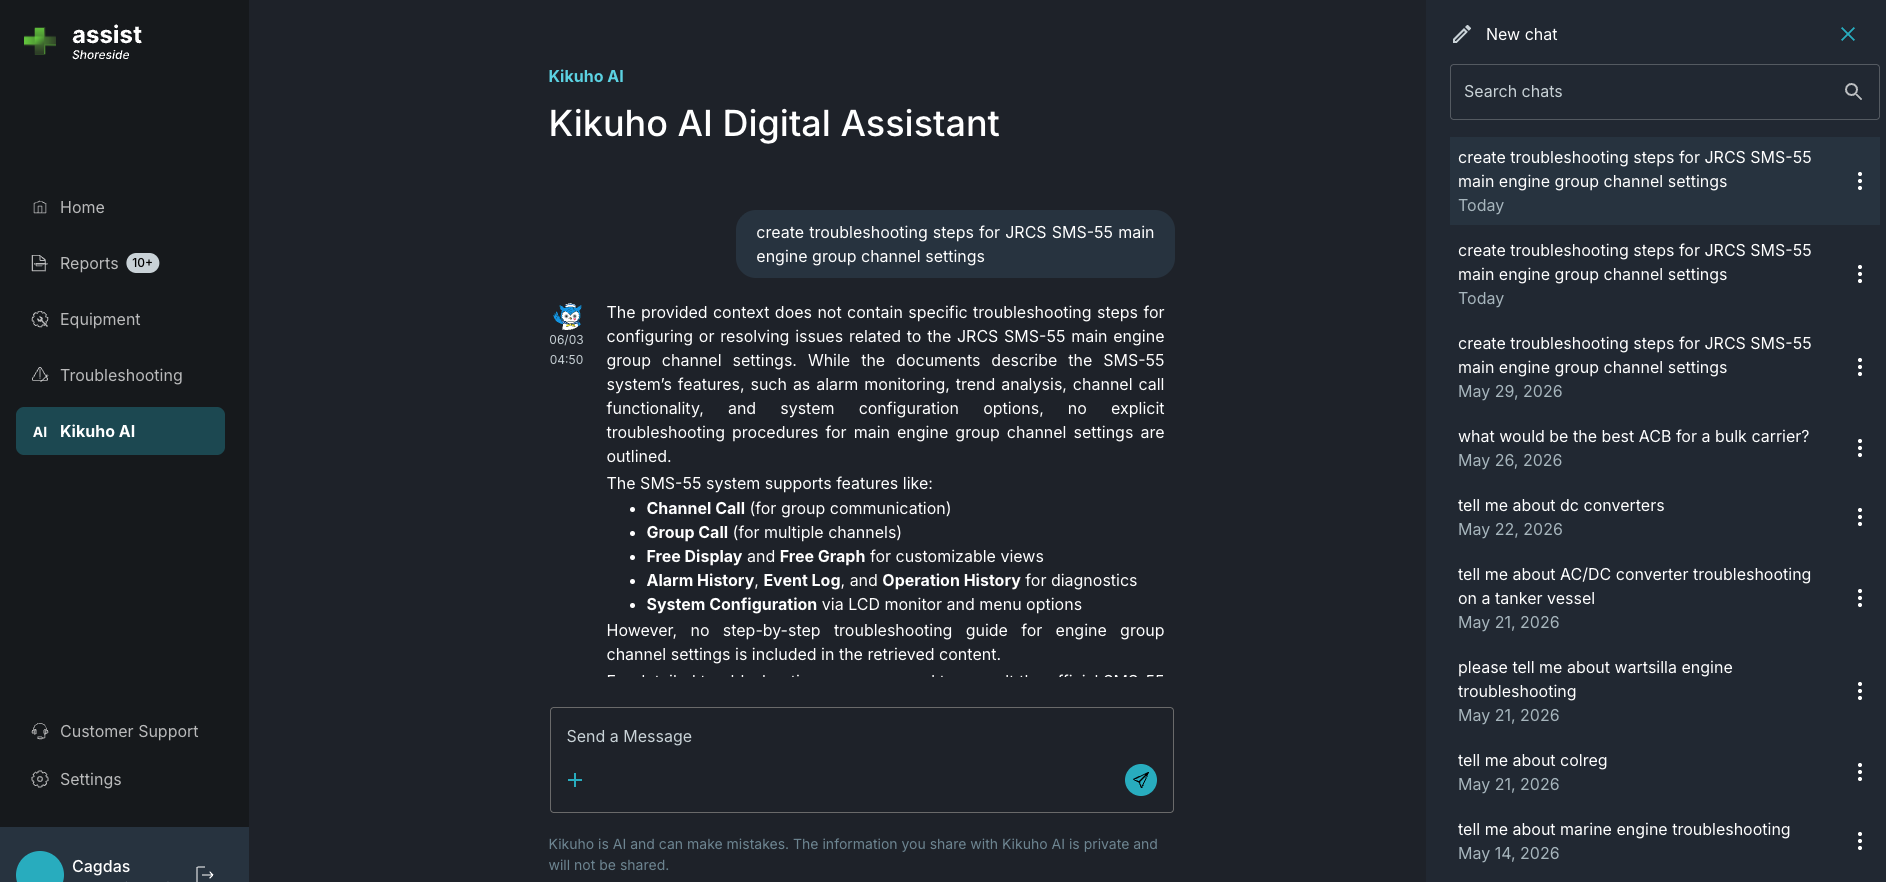
Kikuho AI
The Kikuho AI digital assistant provides an AI-driven chat interface for support and guidance.
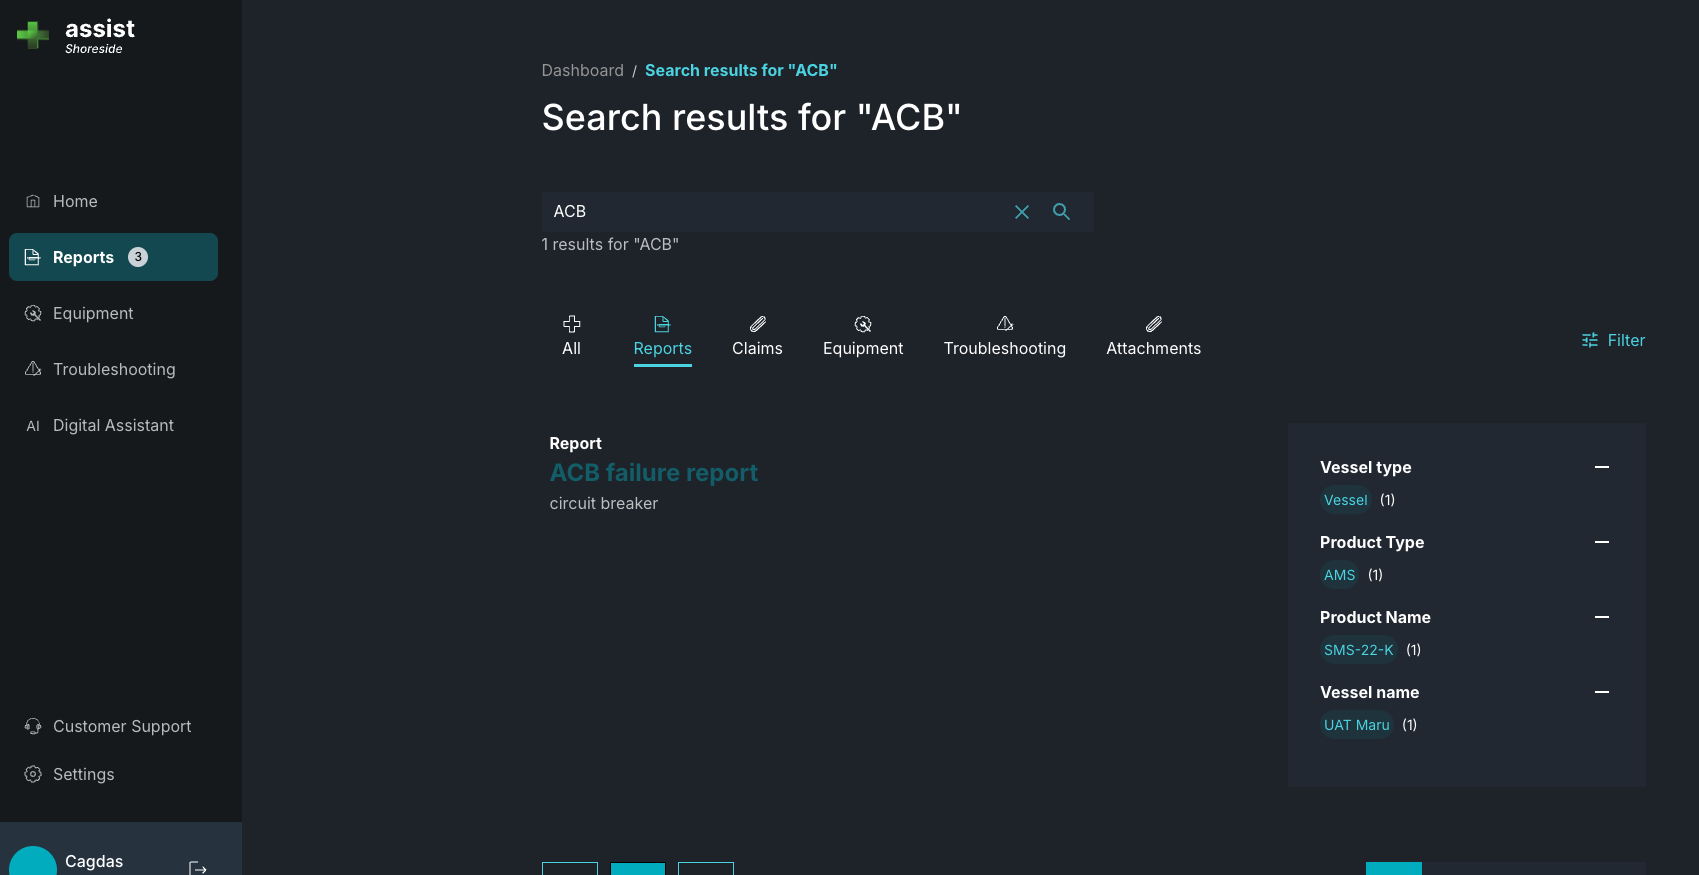
Search
The Search page provides a global search experience across the app.
Settings
The Settings area lets you customize UI preferences, language, timezone, and notification rules.
What you can do:
-
Toggle dark mode and light mode
-
Change application language between English and Japanese
-
Set your preferred timezone and time abbreviation
-
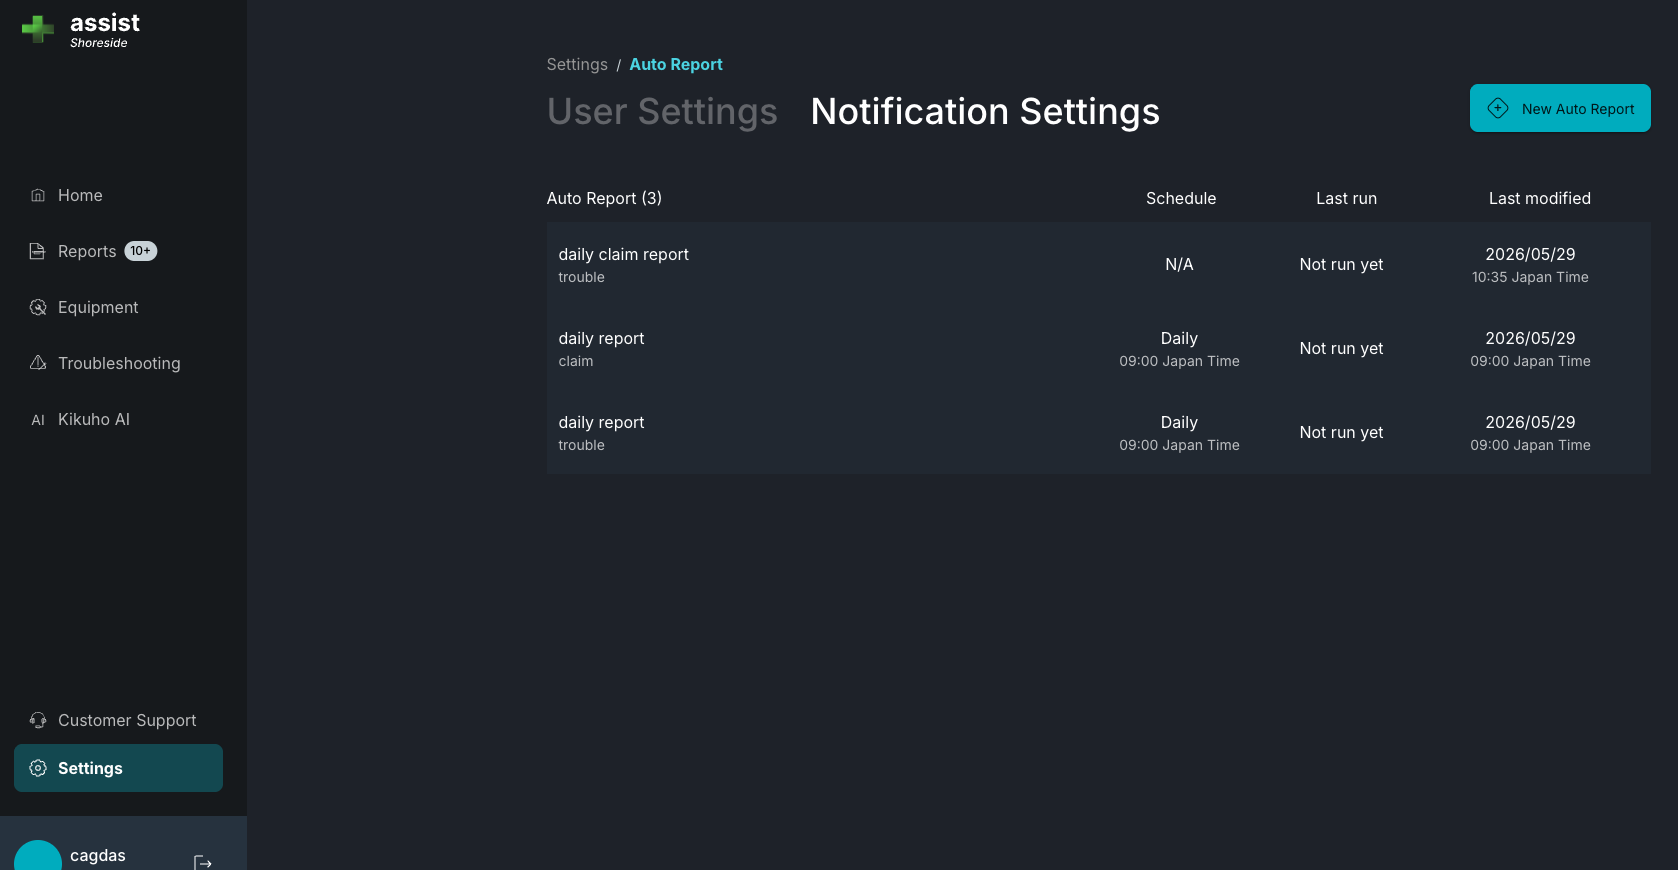
For supervisors, manage auto-report notification settings and create new scheduled notification rules
How to use it:
-
Open
Settingsfrom the sidebar. -
Use
User Settingsto adjust visual preferences, language, and timezone. -
If your role includes it, open
Notification Settingsto review and create auto-report rules. -
Supervisor users can create new auto-report templates and edit existing notification settings.