
Account Settings
Overview
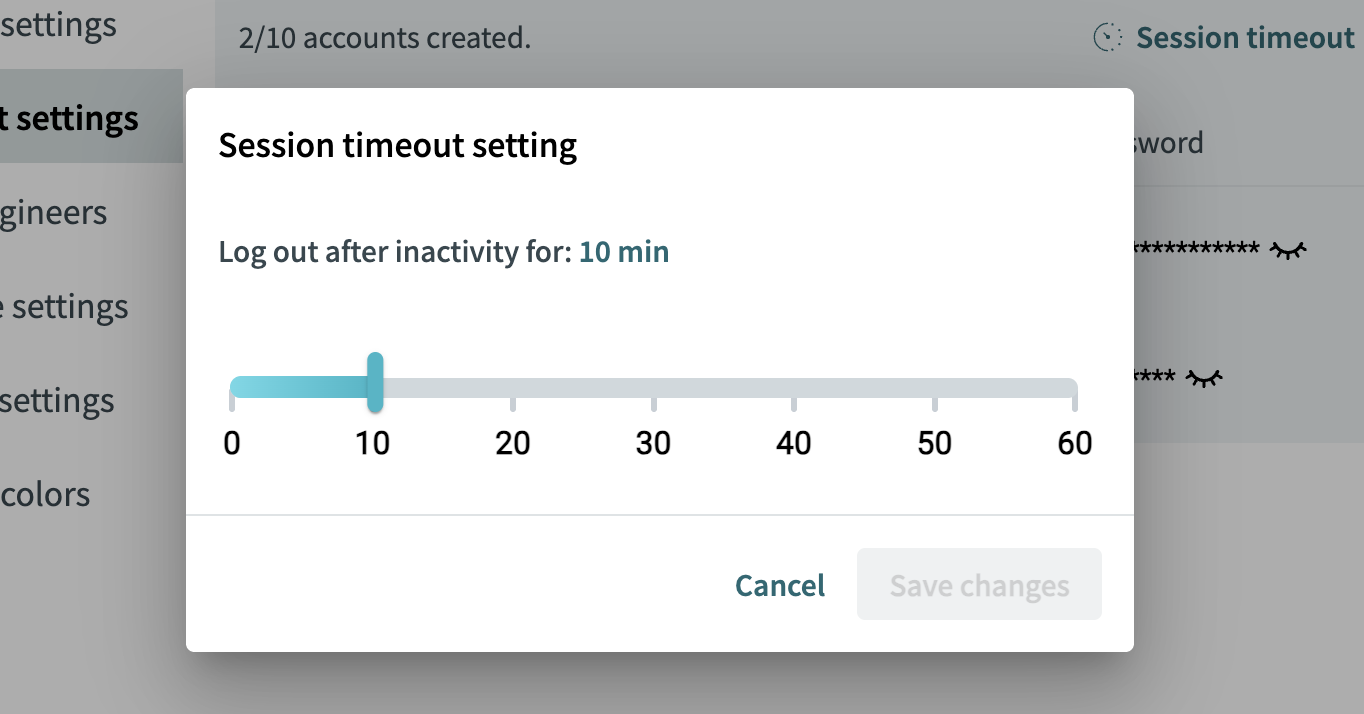
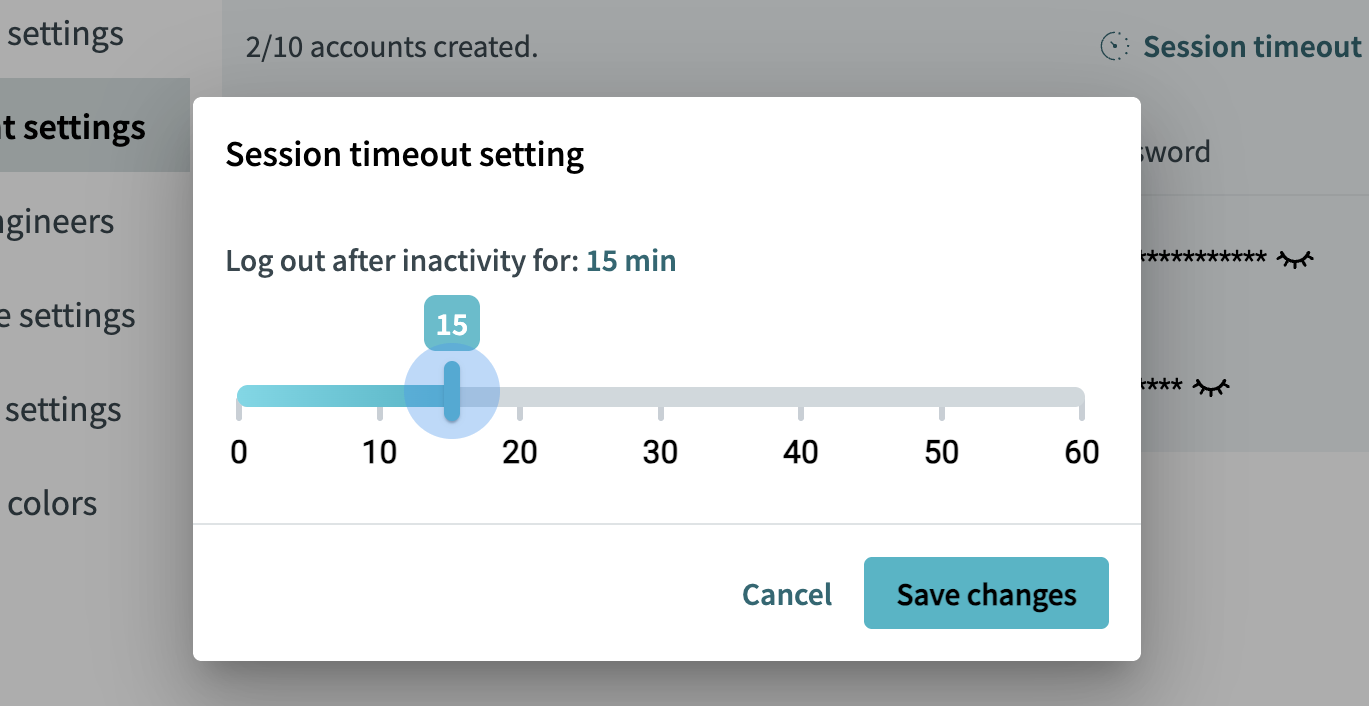
This section explains how to create accounts, manage accounts, manage account permissions, and configure session timeout settings.
Prerequisites
Before proceeding, ensure the following requirements are met.
-
You have access to iCreate.
-
You are logged in to iCreate.
-
A shipyard has been created.
-
A vessel has been created.
-
Vessel’s Project Status is 'Editing'.
-
You are inside OPS Settings page.
Procedure
1. Open Account Settings
From the System Settings sidebar navigation menu, select Account Settings.
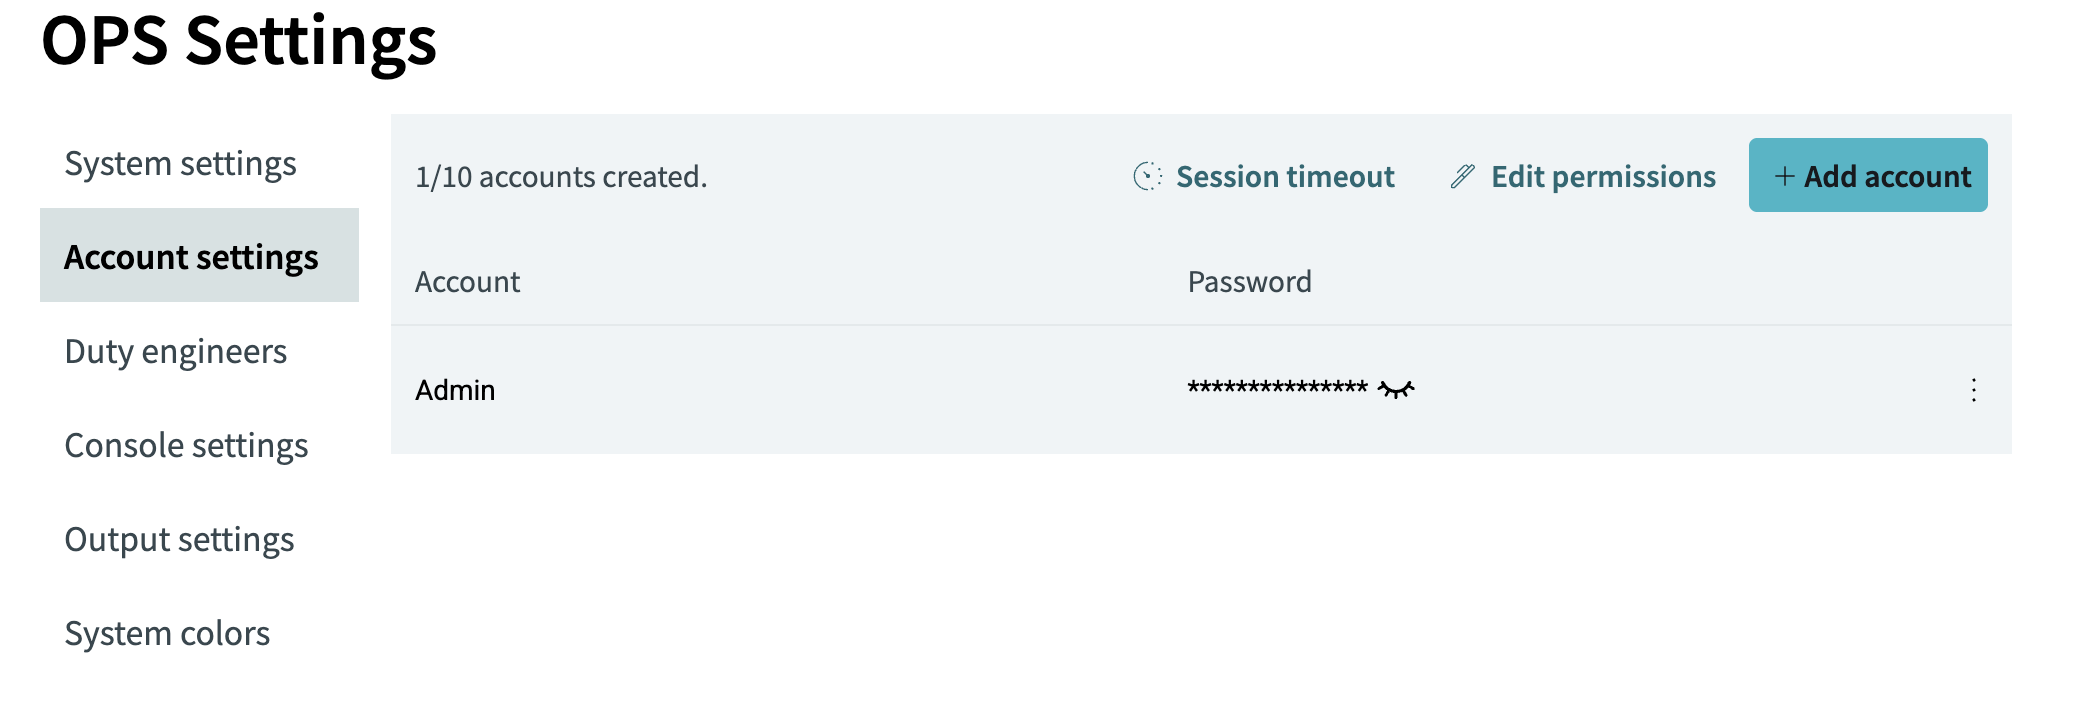
The Account Settings page is displayed.
Create an Account
Click Add account.
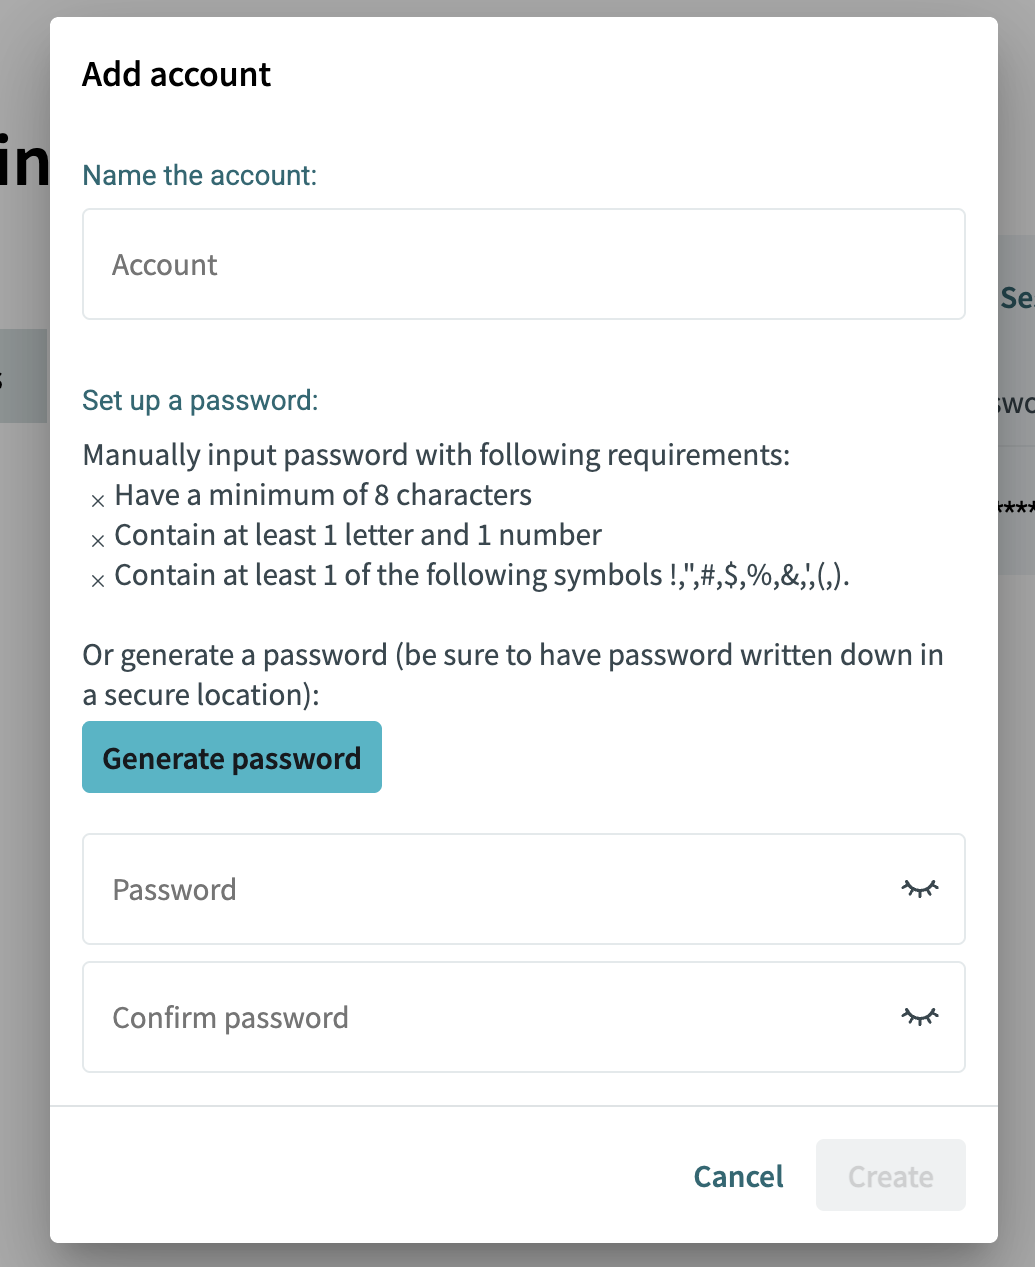
Enter the account name and password.
You can manually enter a password or click Generate password to automatically generate one.
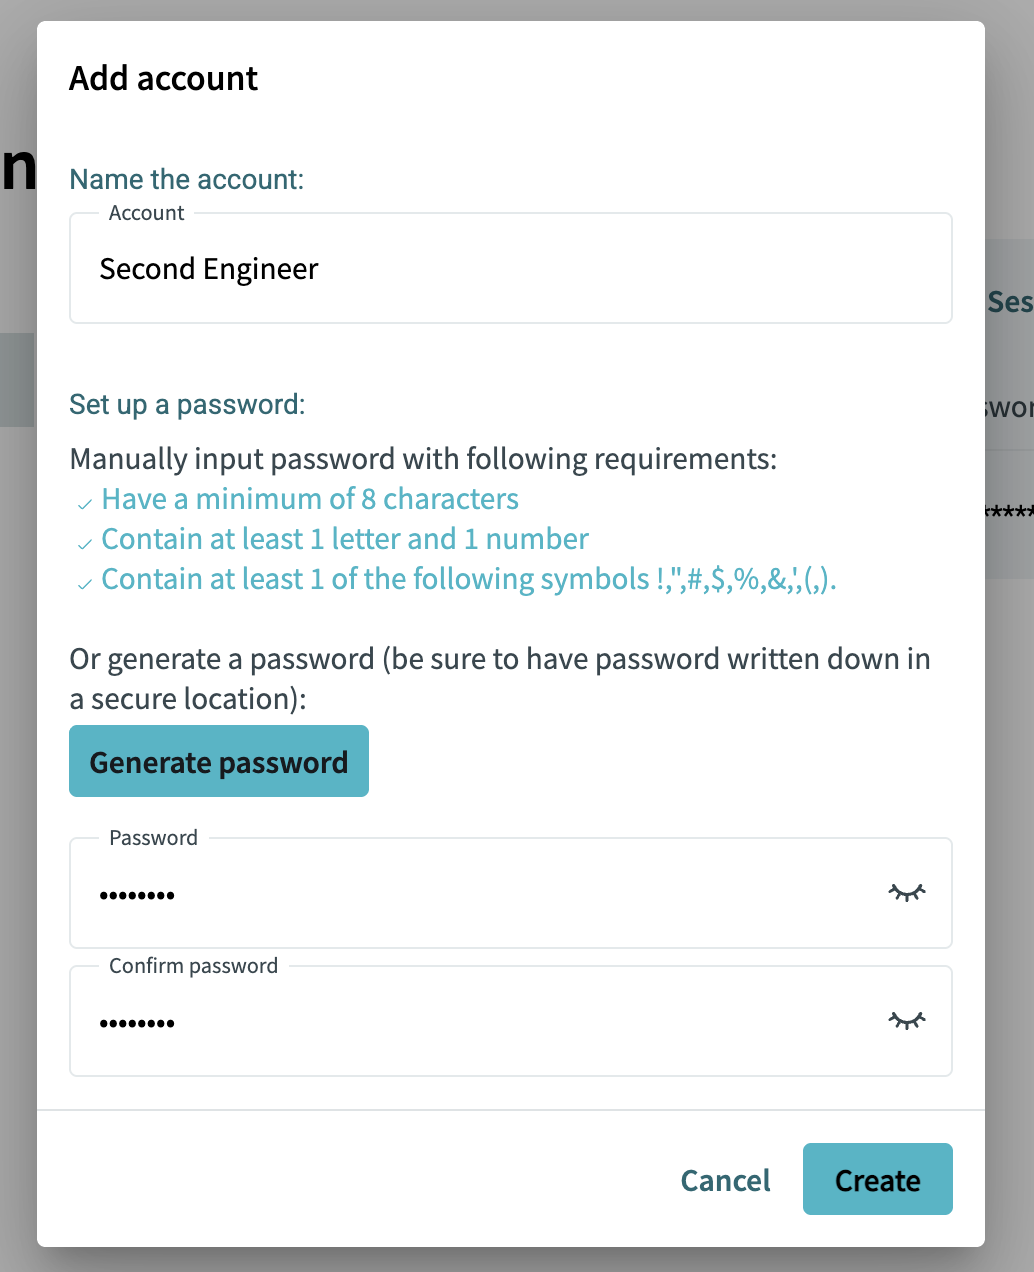
Click Create.
A confirmation message is displayed and the new account appears in the account list.
|
Store generated passwords in a secure location before creating the account. |
View a Password
To display a password, click the eye icon next to the password field.
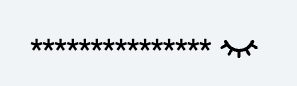

The password is displayed in plain text while visibility is enabled.
Click the eye icon again to hide the password.
Edit Permissions
Click Edit permissions.
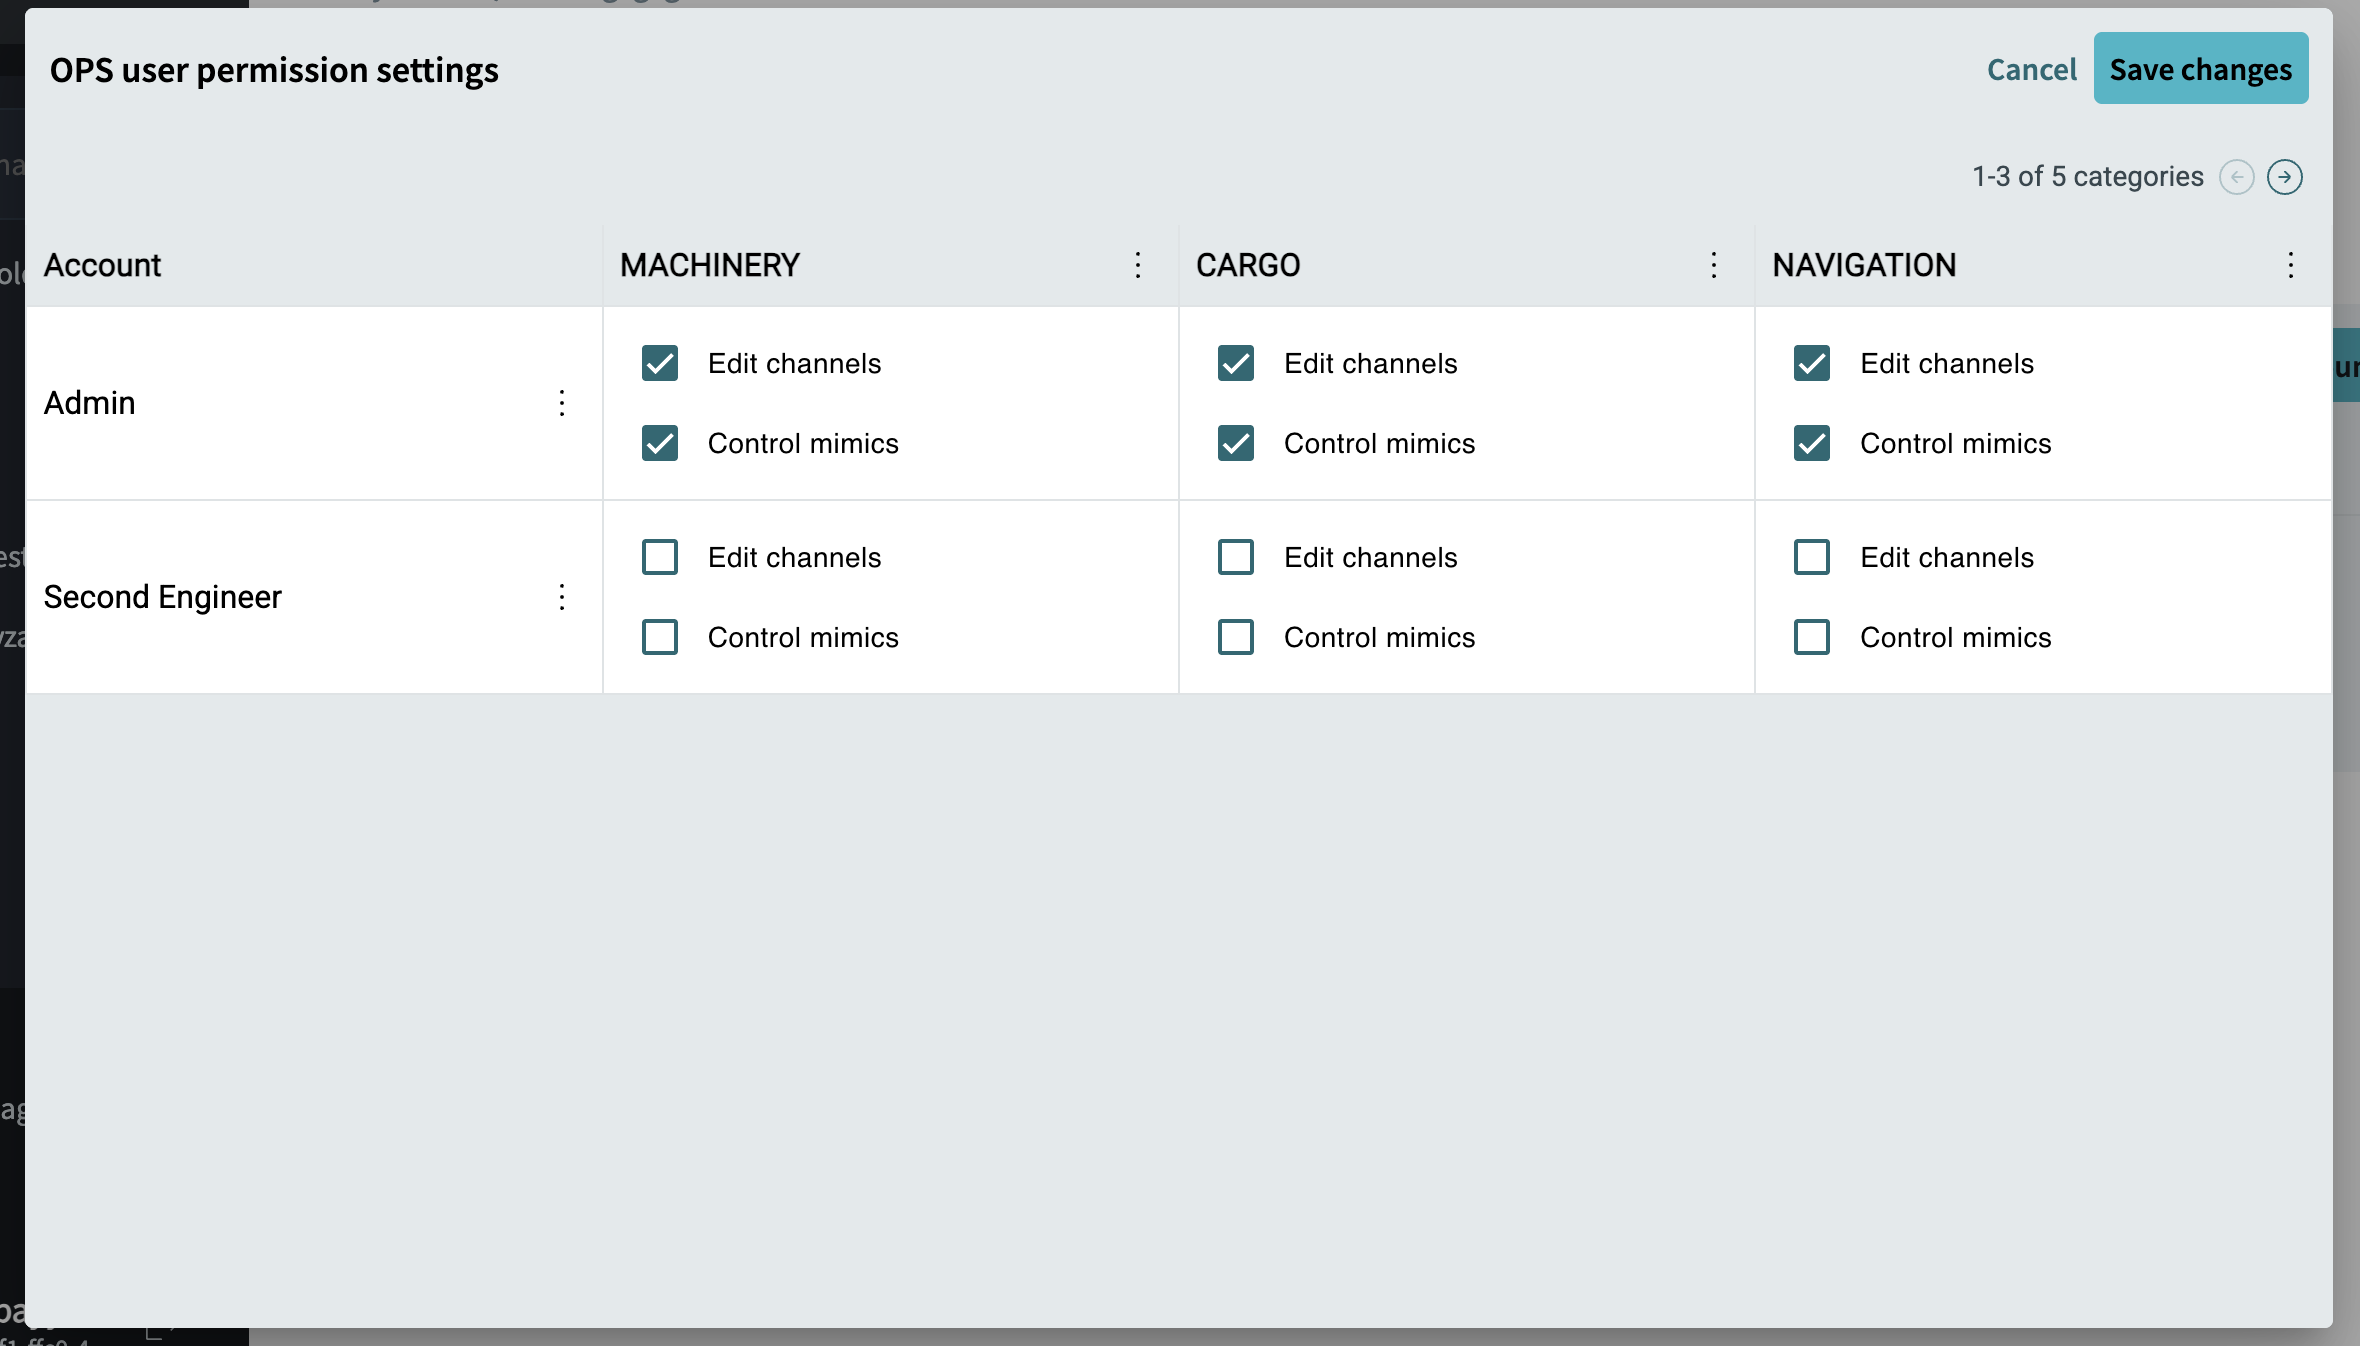
The OPS user permission settings dialog is displayed.
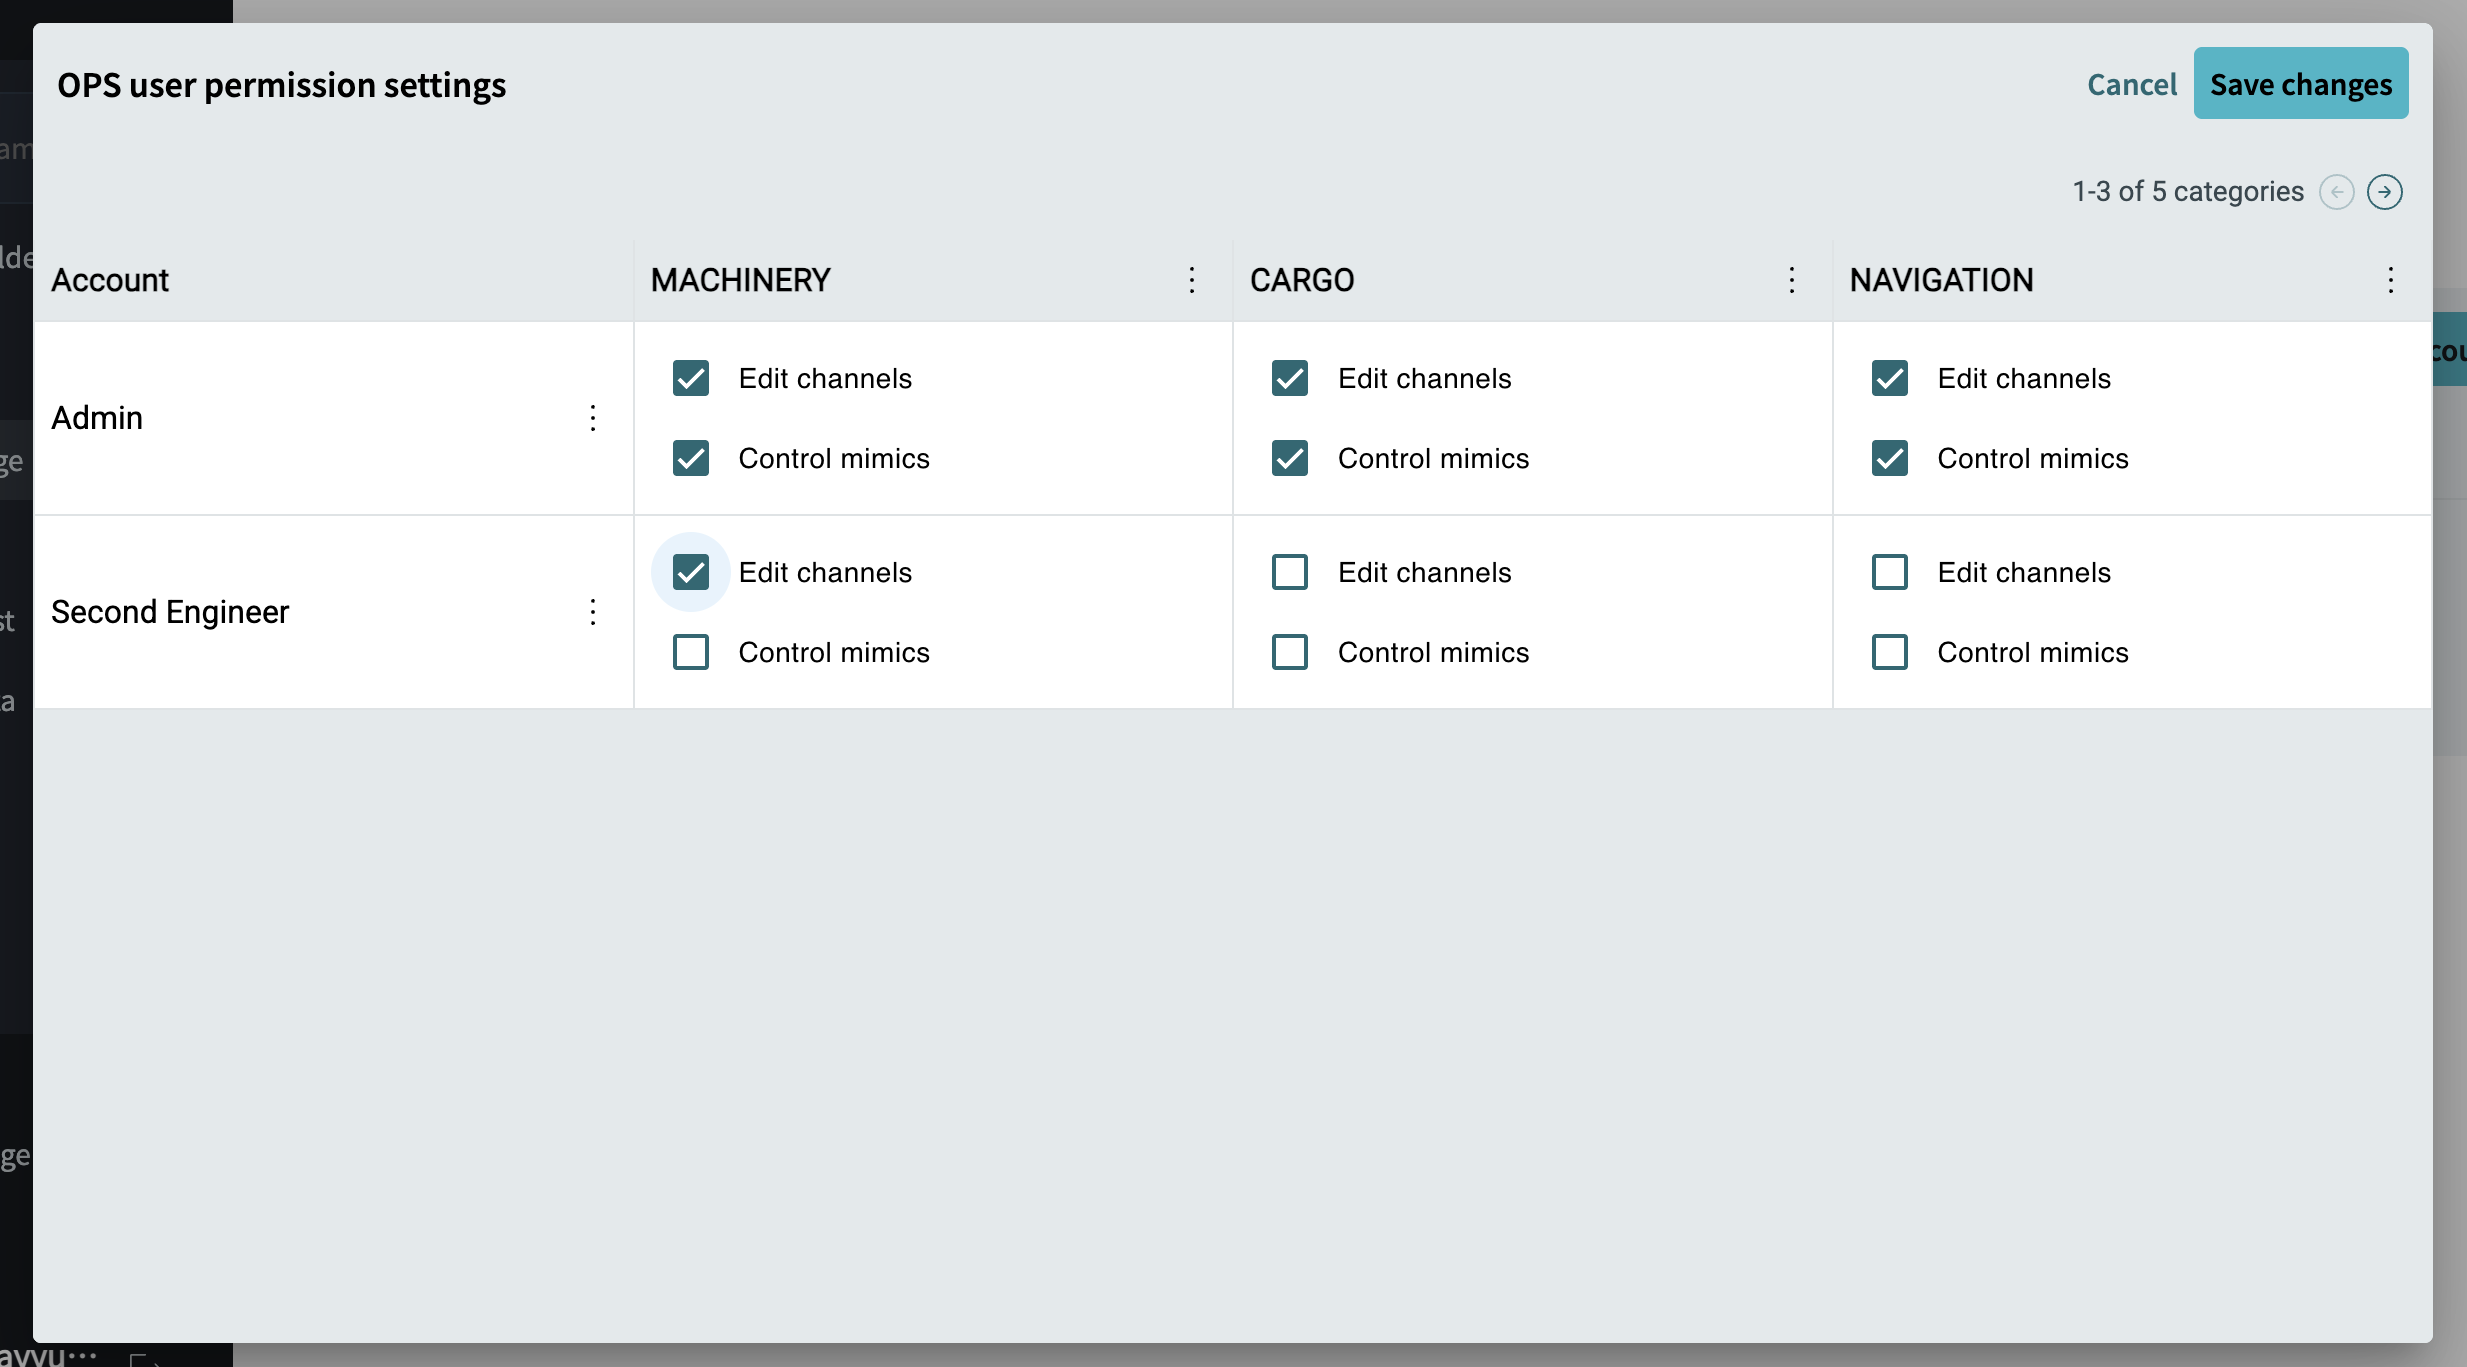
Permissions can be assigned for each account and channel category by selecting or clearing the available permission checkboxes.
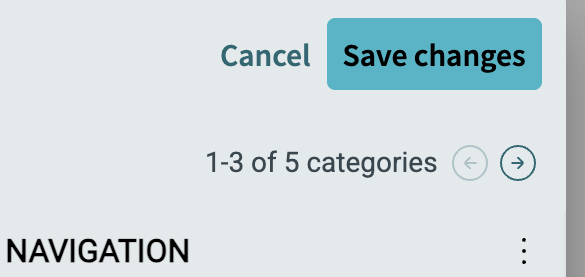
If multiple channel categories exist, use the pagination controls in the upper-right corner of the dialog to navigate between pages of categories. The category counter indicates which categories are currently displayed.
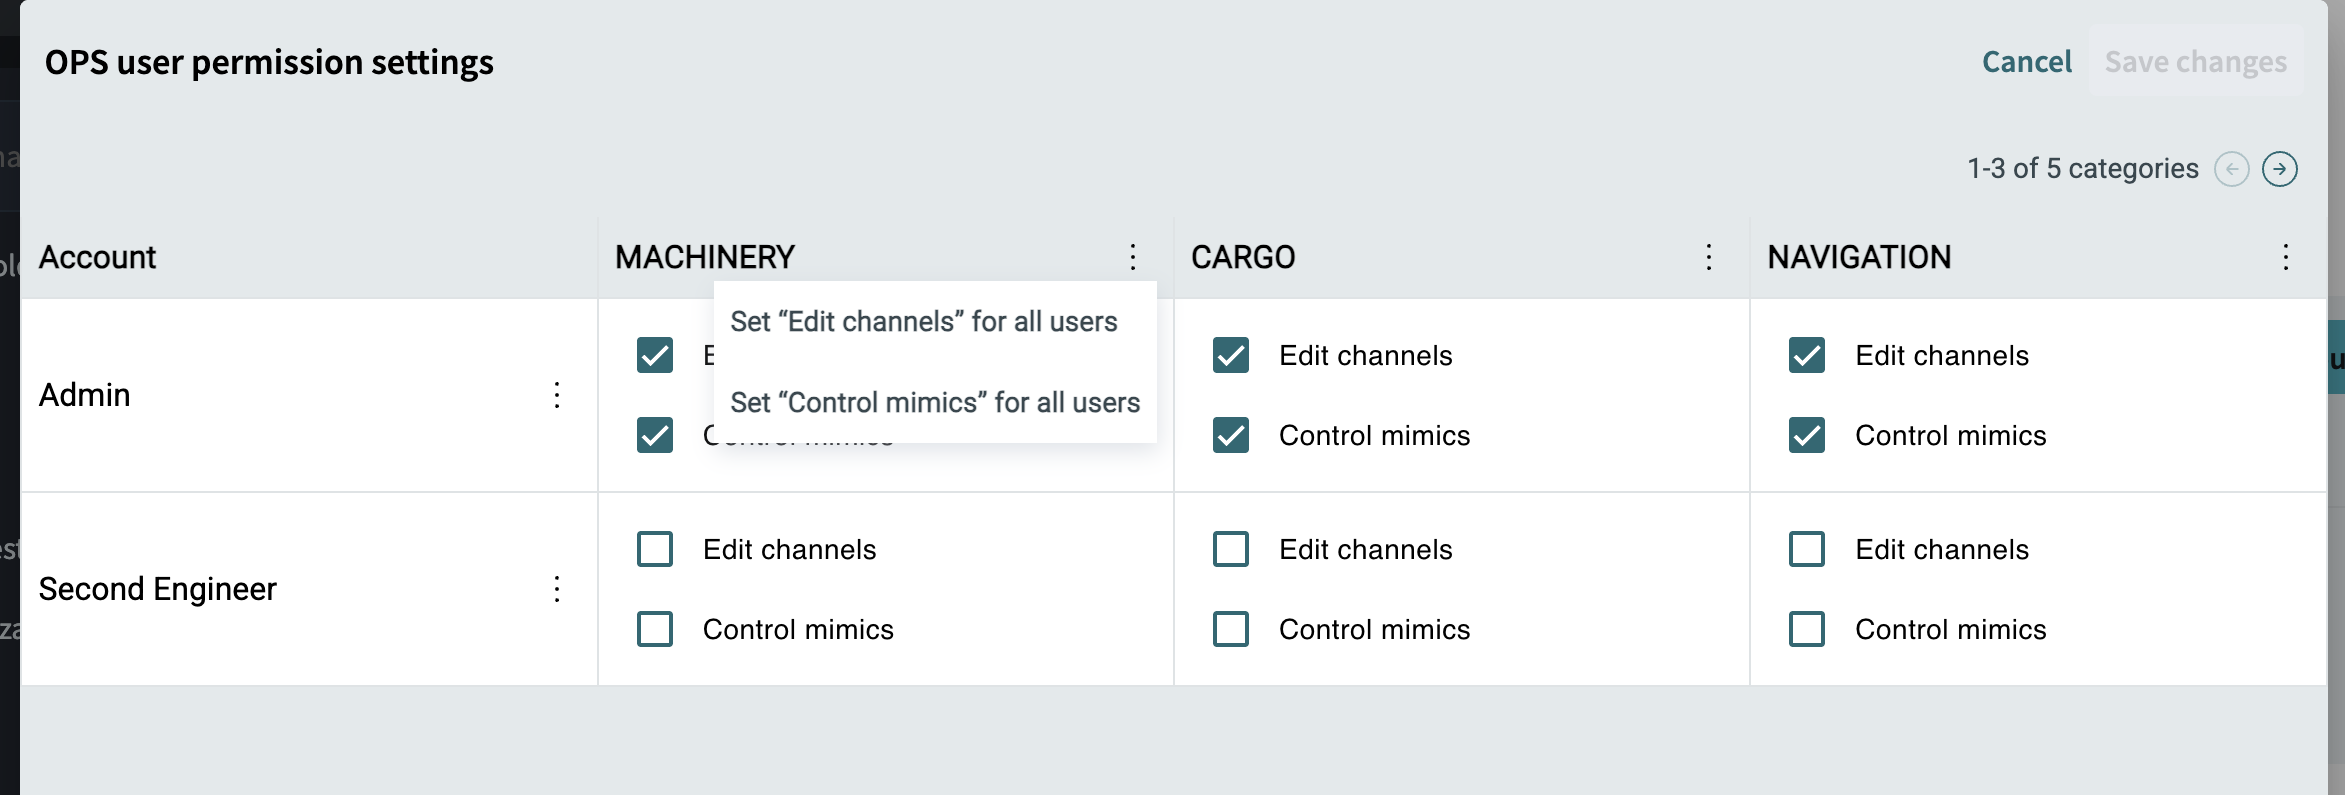
You can also update permissions for multiple accounts or categories at the same time by using the options menus.
To apply a permission to all users within a category, select the menu button on the category header and choose the required action.
To apply a permission across all categories for a specific account, select the menu button next to the account and choose the required action.
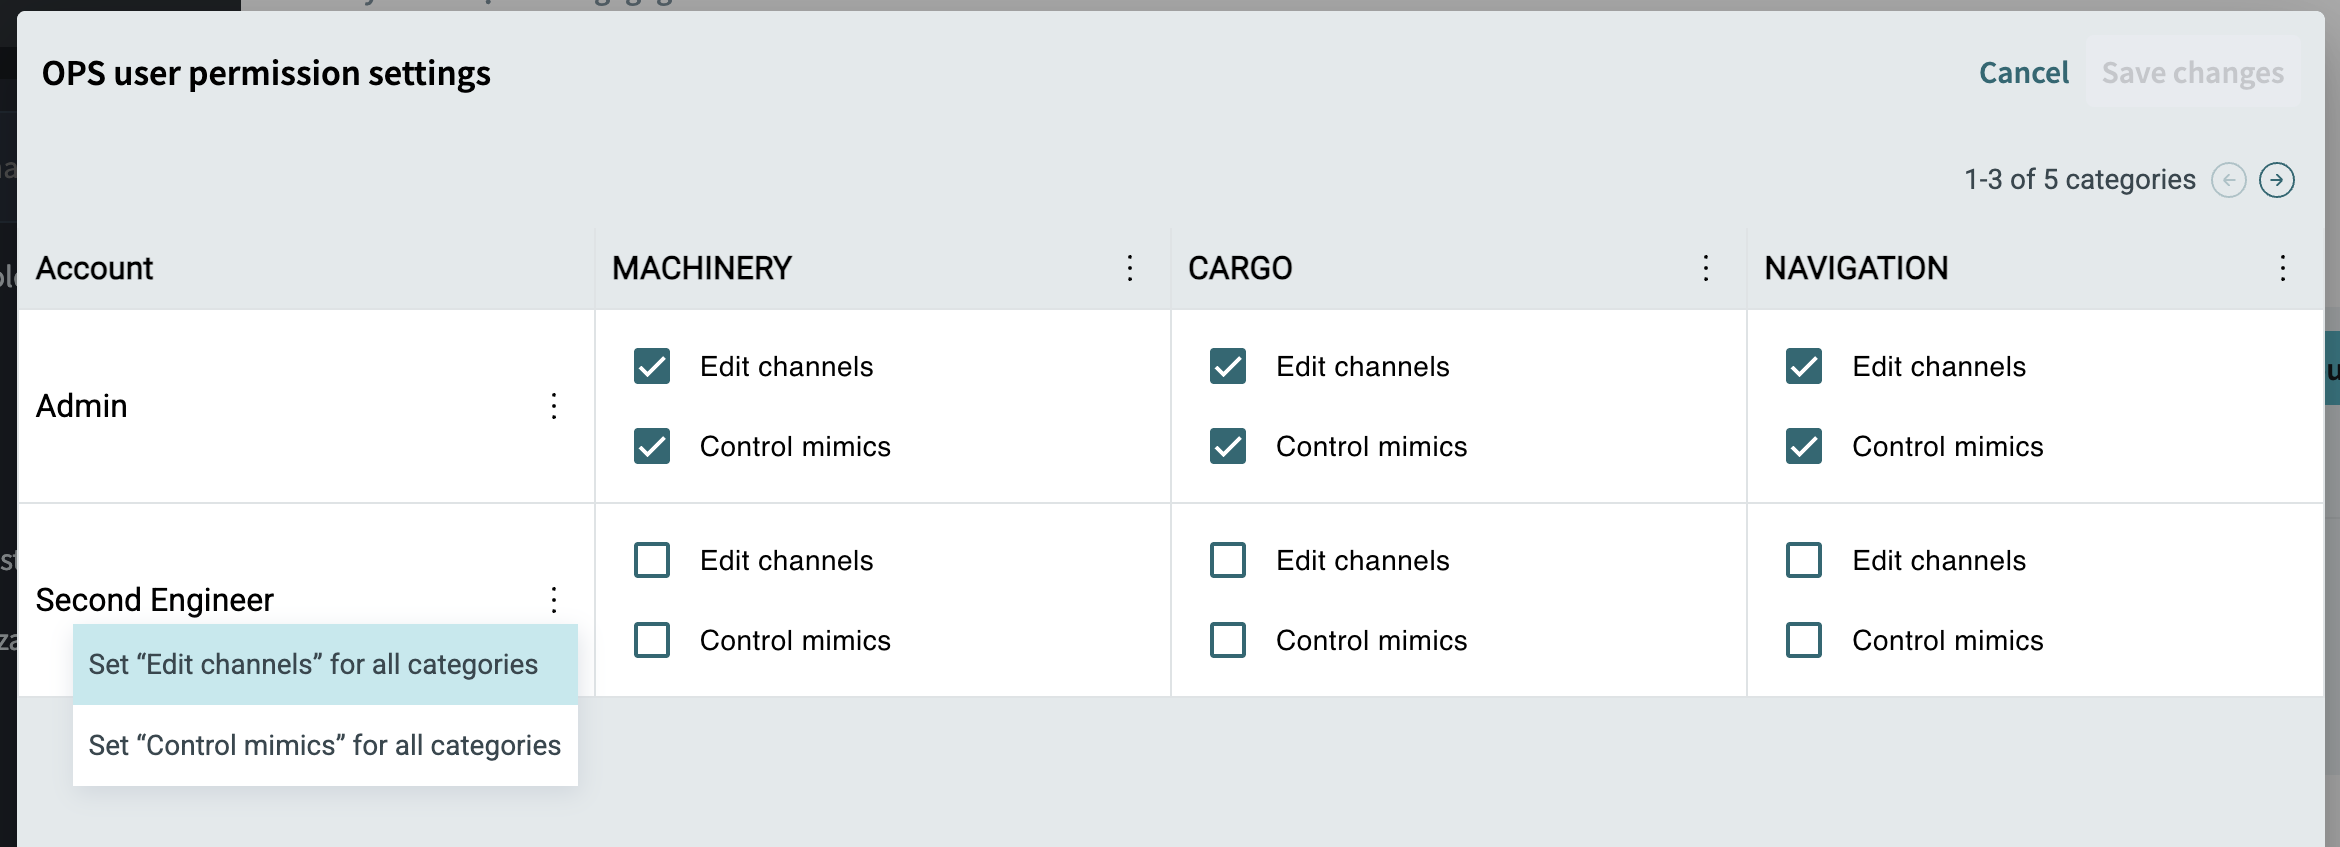
Click Save changes to apply the updated permissions.
|
Permission changes take effect immediately after they are saved. |
Manage Existing Accounts
Each account provides an options menu that can be accessed by clicking the menu button (⋮) next to the account.
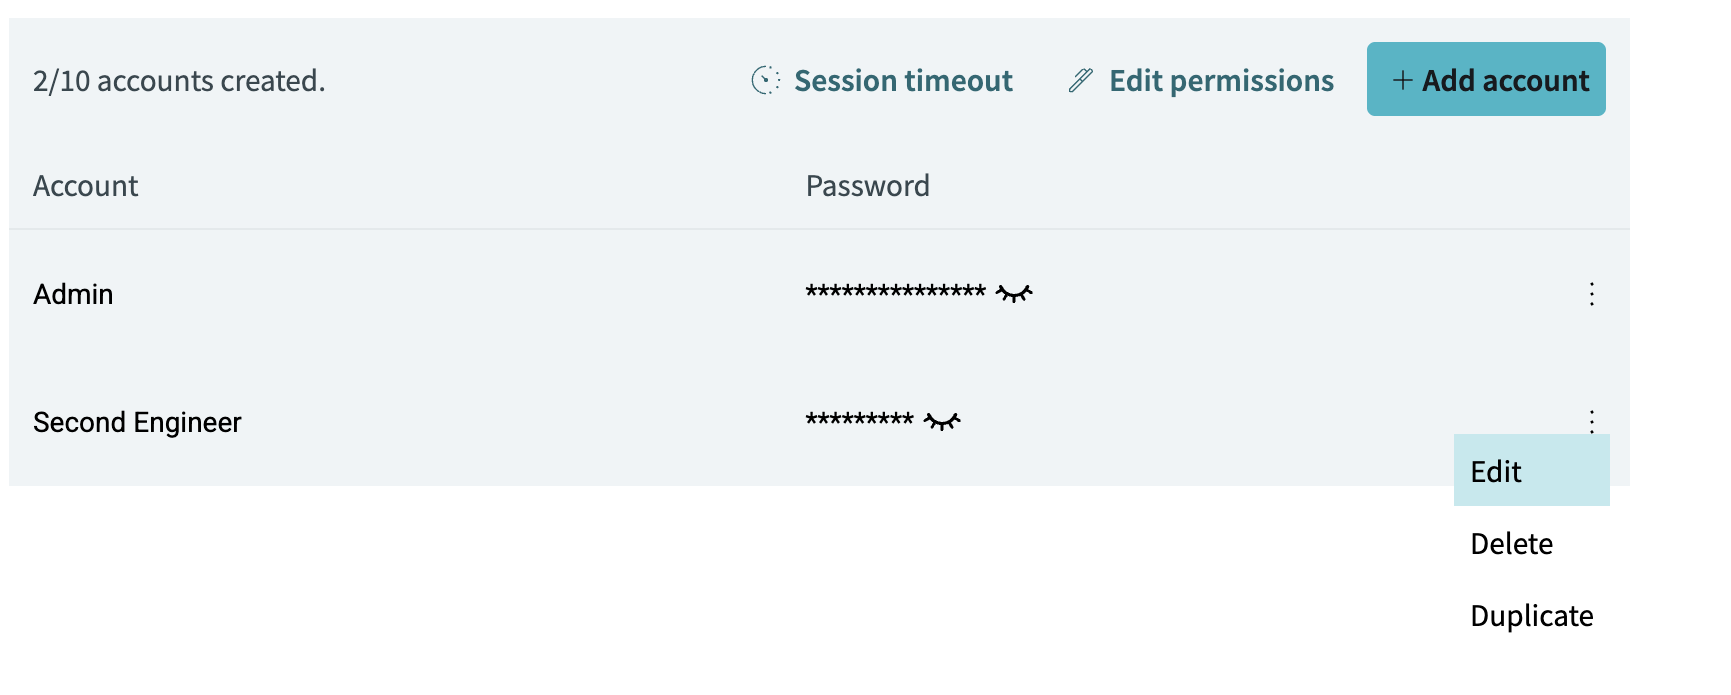
The available actions are:
-
Edit
-
Delete
-
Duplicate
|
The Admin account cannot be deleted or duplicated. |
Edit an Account
From the account options menu, select Edit.
The Edit account dialog is displayed.
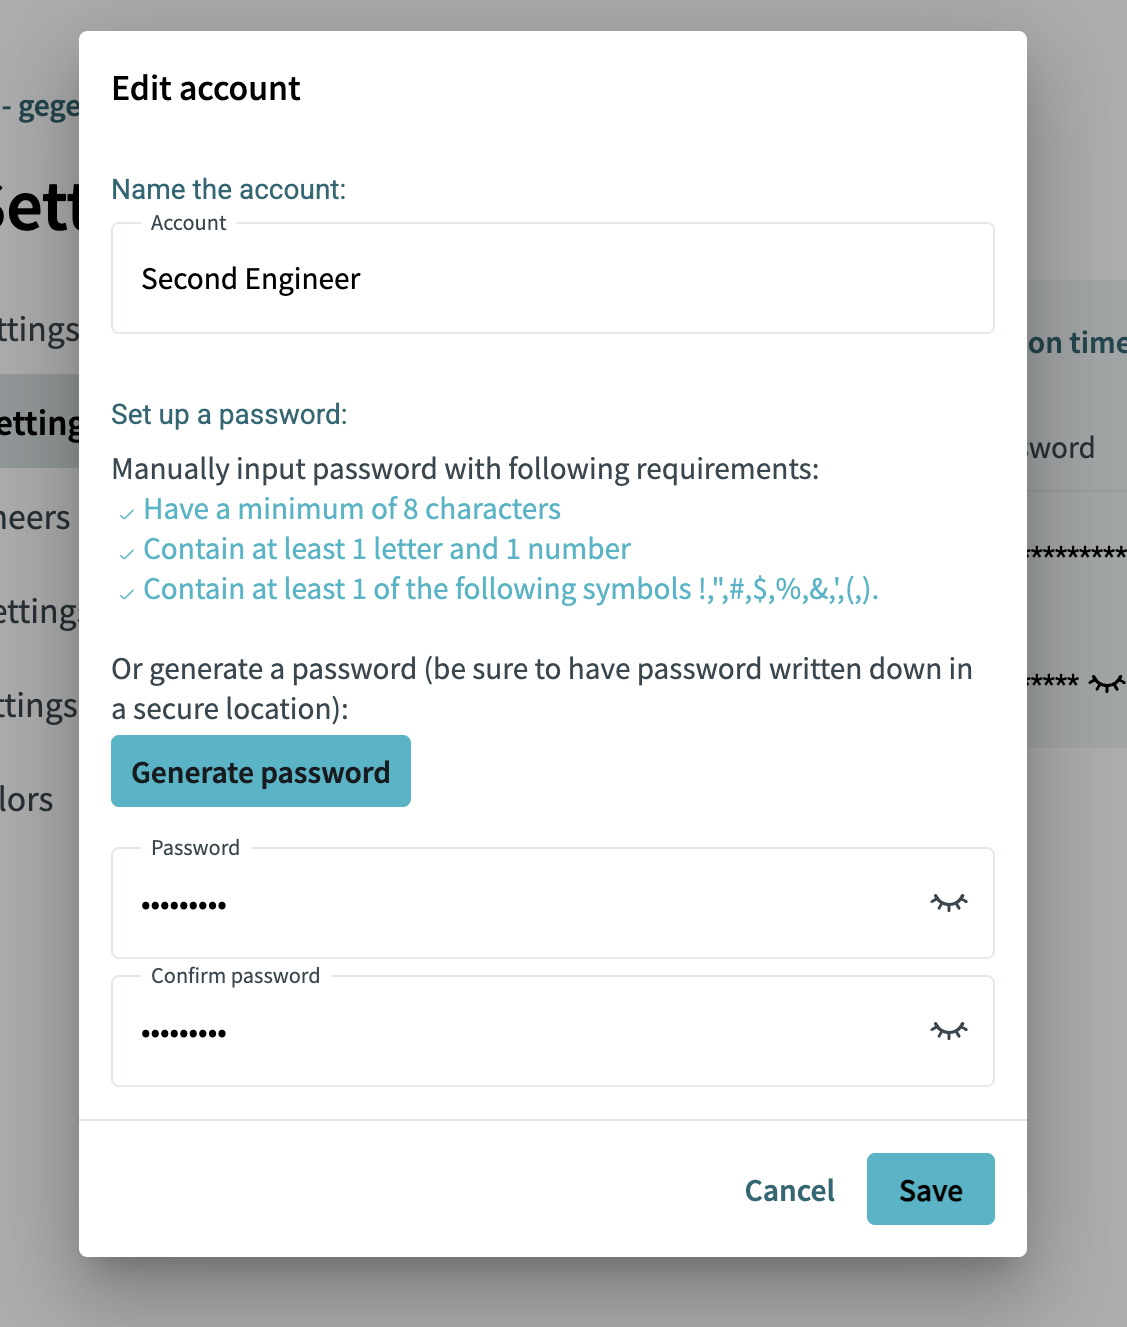
You can update the account name and password.
To change the password, enter a new password manually or click Generate password to automatically create one.
After making the required changes, click Save.
The account information is updated successfully.
Delete an Account
From the account options menu, select Delete.
A confirmation dialog is displayed.
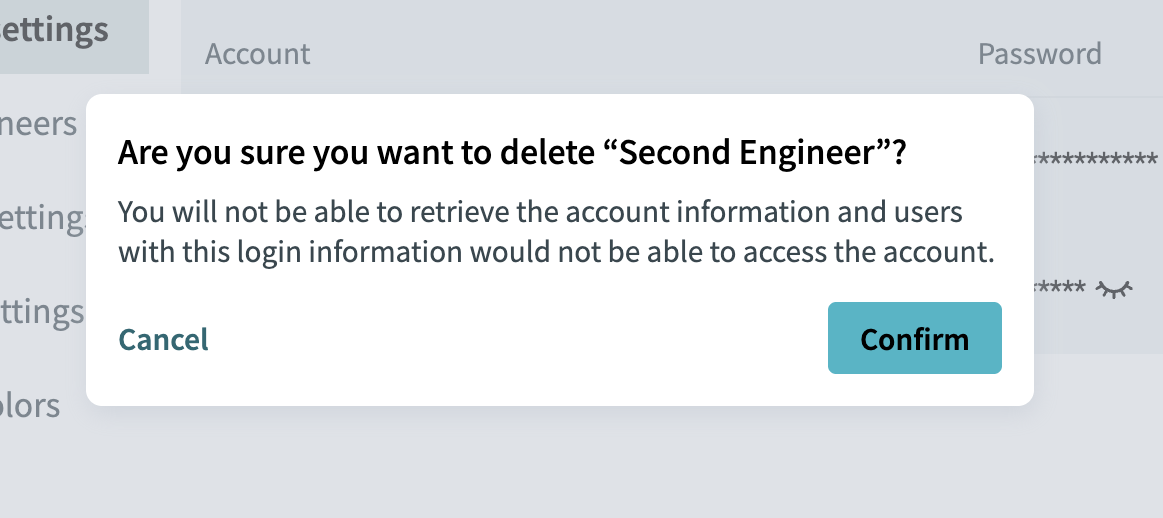
Review the warning message and click Confirm to permanently delete the account.
Click Cancel to close the dialog without deleting the account.
|
Deleted accounts cannot be recovered. Users associated with the deleted account will no longer be able to access the system using that account. |
Duplicate an Account
From the account options menu, select Duplicate.
The Add account dialog is displayed with the account information copied from the selected account.
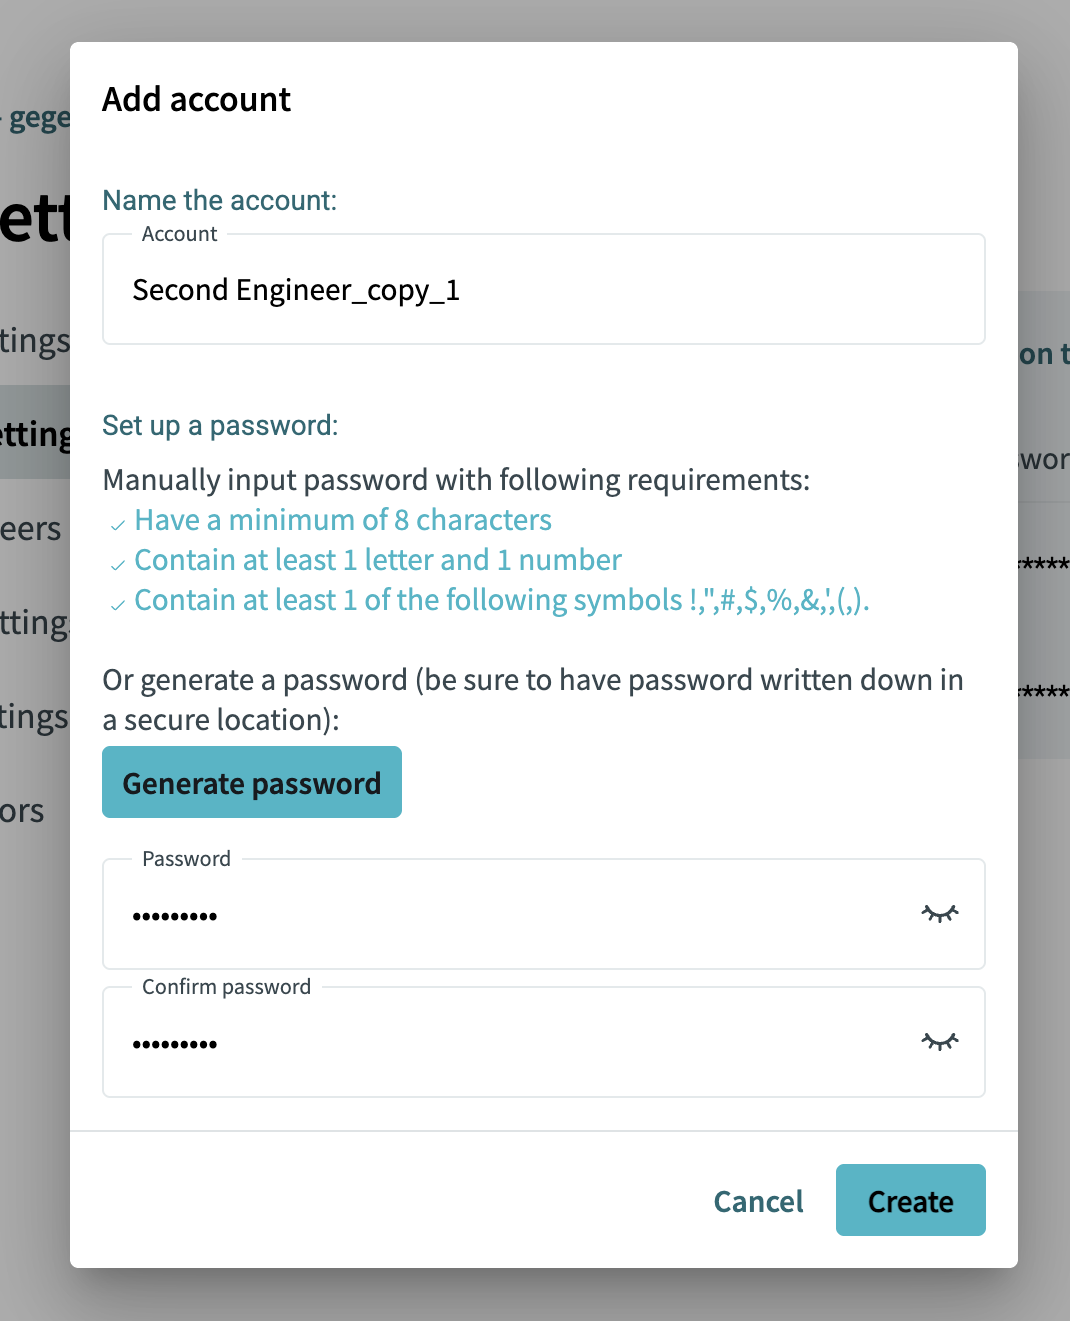
The account name is automatically generated by appending copy# to the original account name.
For example:
-
Second Engineer → Second Engineer_copy_1
You can modify the account name and password before creating the new account.
Click Create to create the duplicated account.
The new account is added to the account list.
|
The Admin account cannot be duplicated. |
Verification
Confirm that the account settings have been applied successfully.
-
Newly created accounts are displayed in the account list.
-
Updated account information is displayed correctly.
-
Updated permissions are applied to the selected account.
-
Duplicated accounts are displayed in the account list with the specified account name.
-
Deleted accounts are removed from the account list.
-
The configured session timeout value is saved successfully.